-
-
Lift the vehicle off the ground, then remove front tires.
-
Remove the brake line bolts located on upper arm and knuckle.
-
-
-
Remove the upper arm ball joint nut then separate the upper arm from knuckle, and lift the upper arm to have the space needed to remove shock.
-
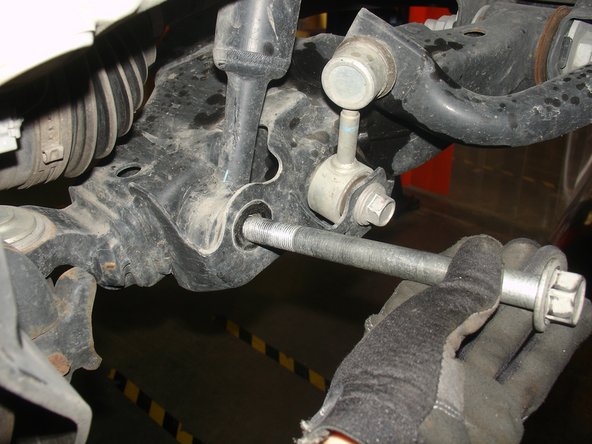
Remove sway bar link lower bolt.
-
-
-
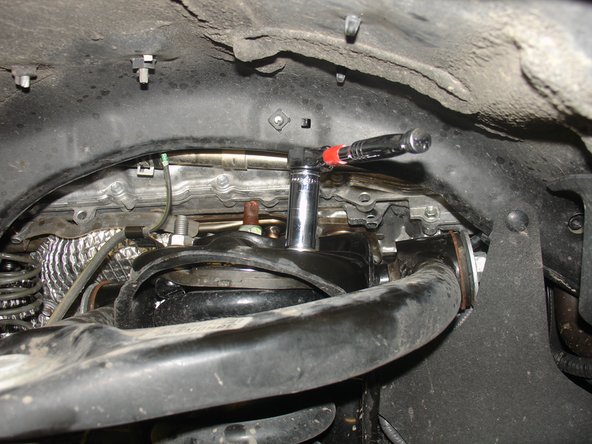
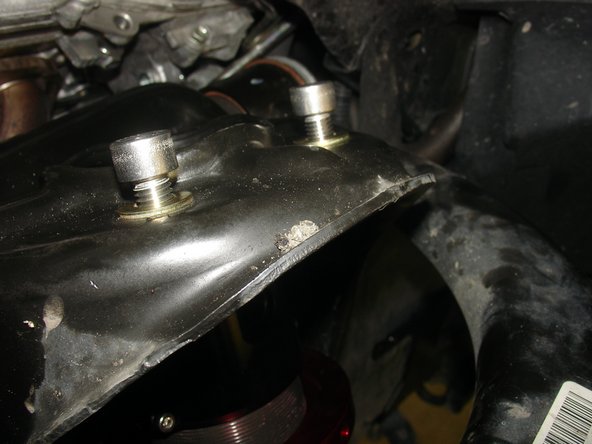
Remove the 4 nuts of upper shock mount. DO NOT REMOVE CENTRAL NUT.
-
Remove lower shock bolt.
-
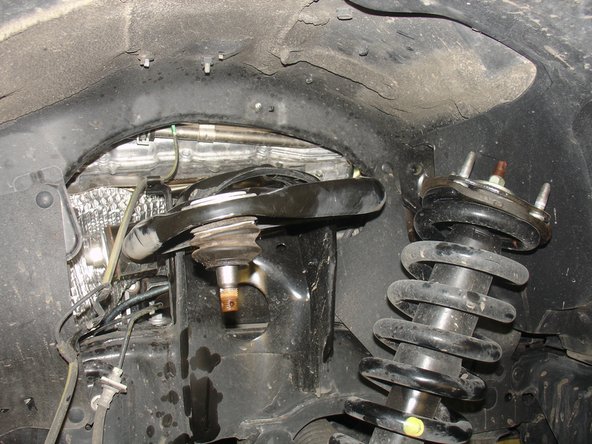
Pull the lower suspension arm down and remove oem shock.
-
-
-
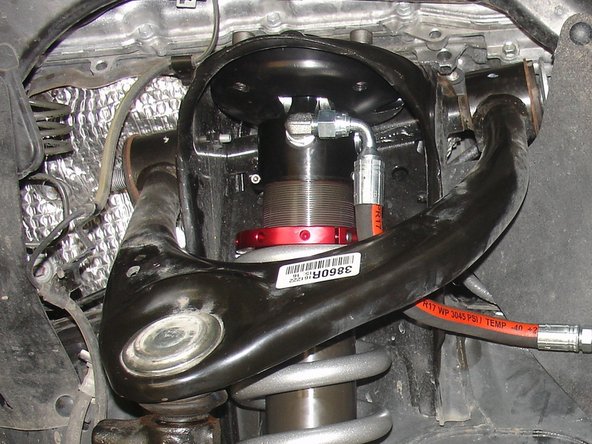
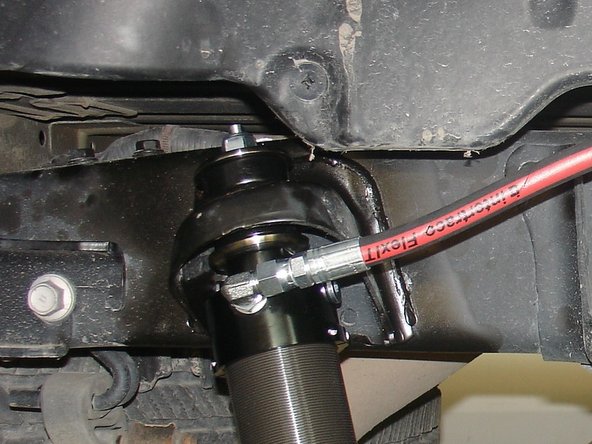
Install new Elka shocks begining by putting the lower eyelet in place. Then, pull the lower suspension arm down, and put upper part of shock in place.
-
The hose fitting must face outside the vehicle. The hose must facing front of vehicle (right side shown).
-
Install provided bolts and washers to fix the top plate. Torque them at 20 ft/lbs.
-
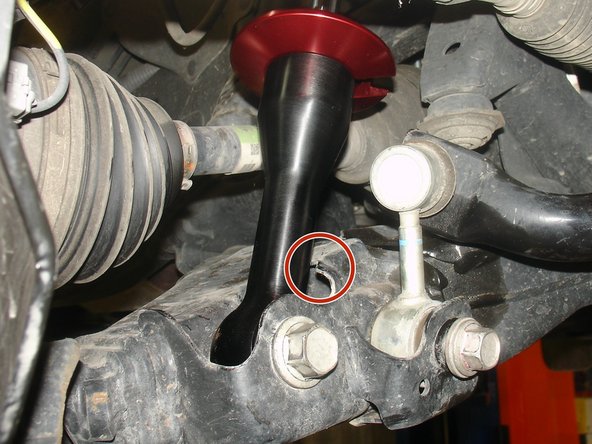
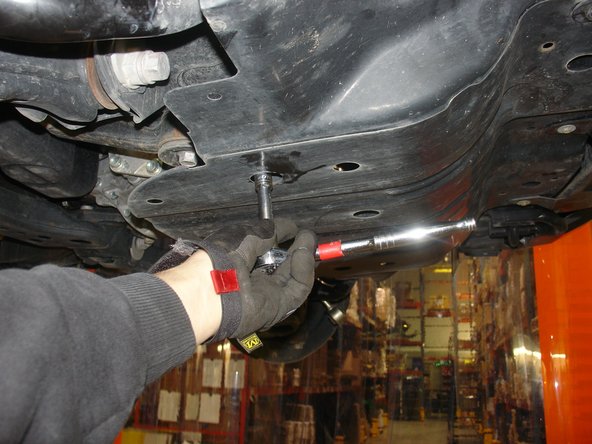
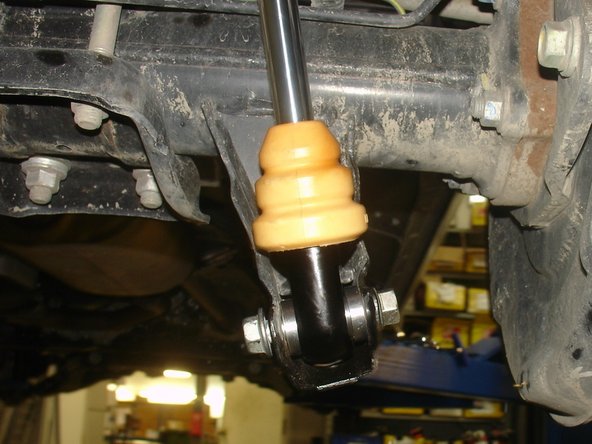
Install lower bolt and torque it at manufacturer's specs. *IMPORTANT* Some year/model vehicle's lower arms need to be grinded to allow clearance for Elka lower eyelet. Ensure the eyelet do not touch lower arms in the area indiced by red circle on photo.
-
-
-
Remove front skid plate to have access to sway bar supports.
-
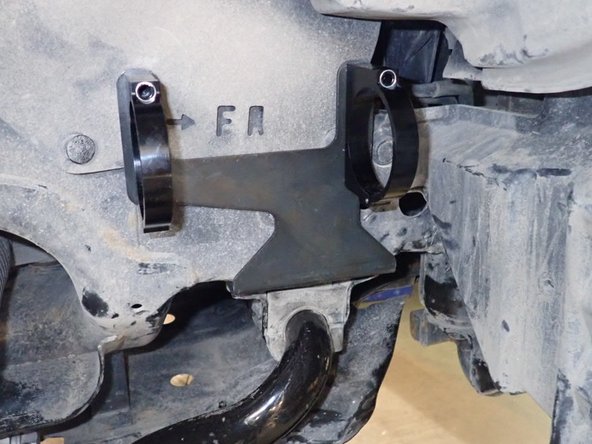
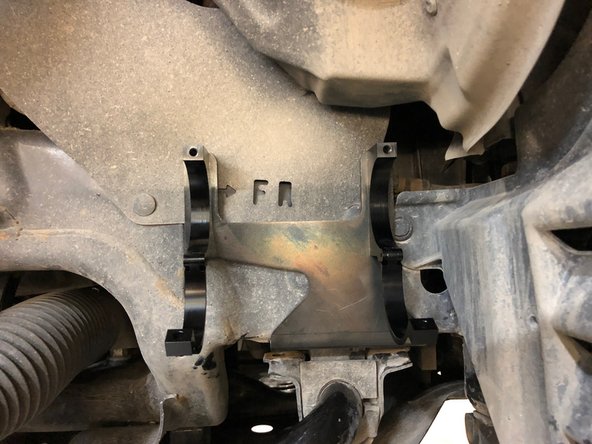
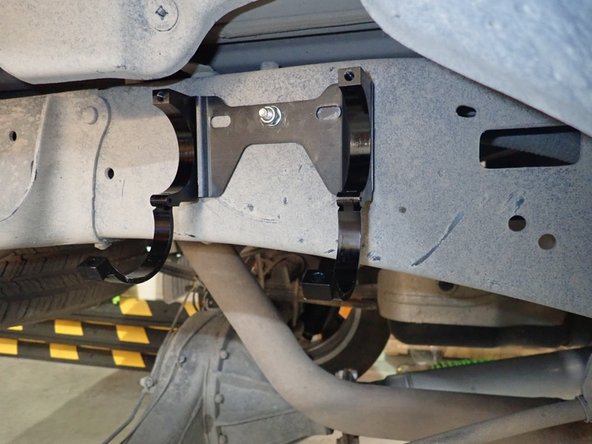
Remove sway bar support bolts, then slide the shock reservoir bracket between support and frame and re-install support bolts in place. (right side shown)
-
-
-
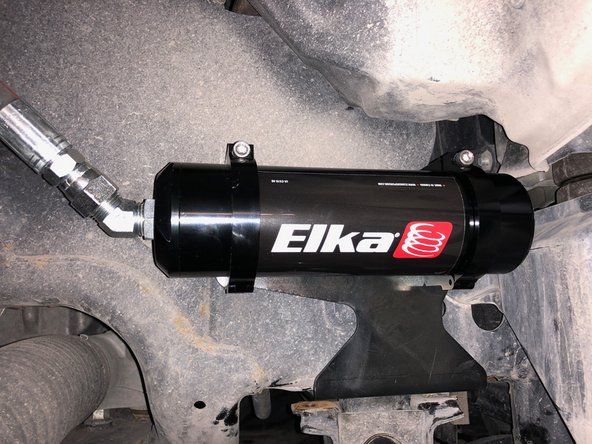
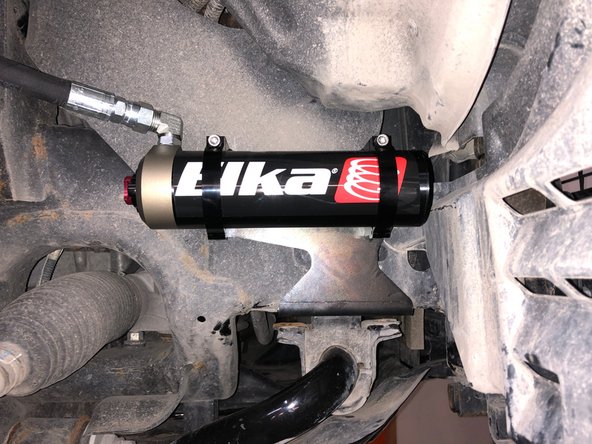
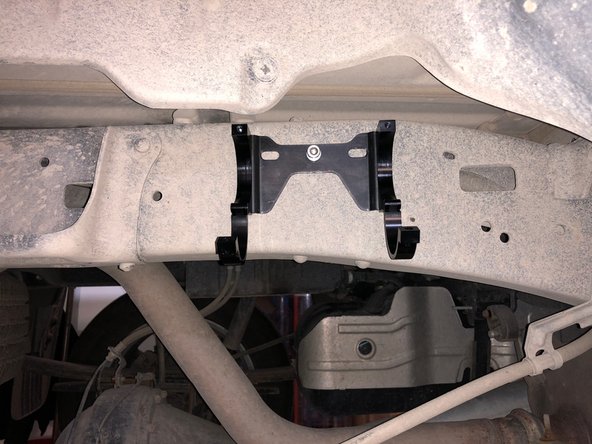
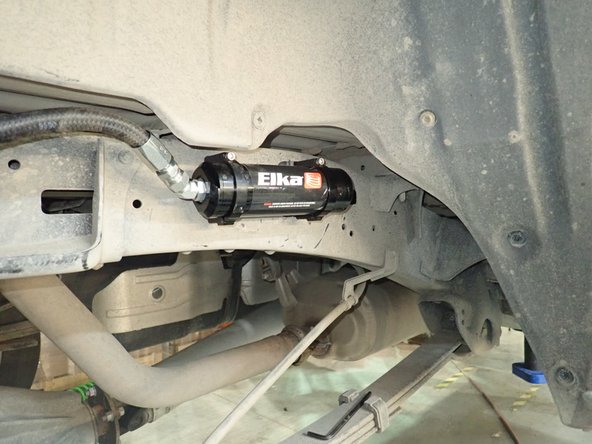
Install reservoir as shown into the holding clamps. Torque the bolts to 12 ft-lbs.
-
Make sure the hose will nut rub on upper suspension arm, is not over stretch or overbend.
-
Reassemble all the components using manufacturer's specs.
-
WE HIGHLY RECCOMMEND a professionnal wheels alignment before driving this vehicle at highway speeds. Do not attempt to drive your vehicle after this install without having the alignment readjusted to factory specs.
-
-
-
Remove the rear OEM shocks.
-
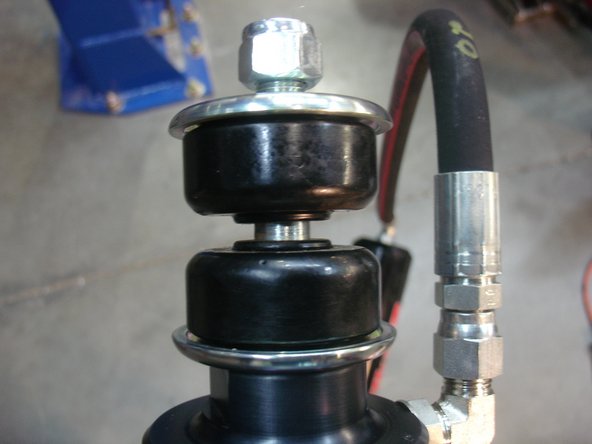
Apply some supplied grease on the 2 rubber isolators.
-
Install upper mount of the Elka shock first. Must have 1 isolator under and 1 over the shock mounting. Do not tighten the nut. The hose must face the outside of vehicle and go to the front . (right side shown)
-
Install lower bolt, and tighten all nuts to factory specs.
-
-
-
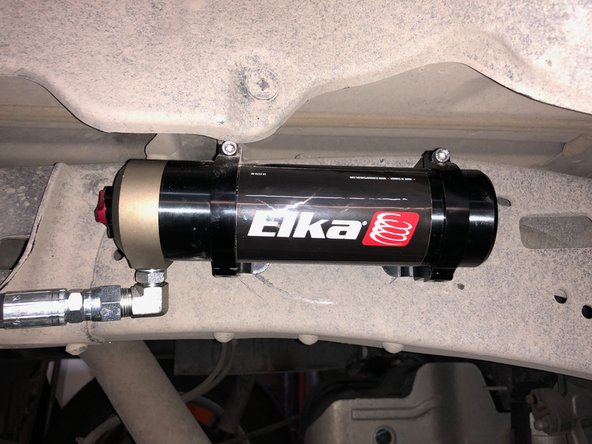
Install reservoir bracket with first supplied bolt in the hole already in frame at the right side of shock (right side shown)
-
To properly secure the bracket, you can drill a 8mm (3/8") hole in the chassis to insert the second bolt. MAKE SURE YOUR LOCAL REGULATIONS AND YOUR MANUFACTURER'S WARRANTY ALLOW YOU TO MODIFY THE FRAME OF YOUR VEHICLE BEFORE DRILLING IT.
-
Tighten bolts at 20 ft/lbs
-
-
-
Install reservoir as shown into the holding clamps. Torque the bolts to 12 ft-lbs.
-
Make sure the hose is not rubbing anywhere.
-