-
-
Use a jack or stand to lift the vehicle so the wheels are completely off the ground.
-
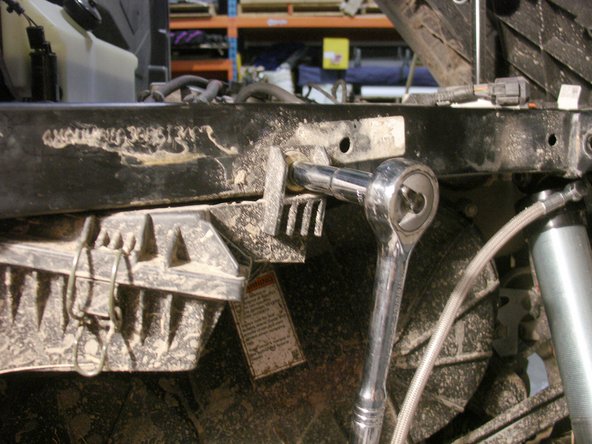
Remove the stock shocks. Refer to the vehicle’s owner manual if needed.
-
Install your new Elka shocks with the piggyback head towards the top and with the reservoir pointing out from the vehicle.
-
If needed, rotate the lower eyelet so the rebound adjuster is pointing towards the wheel.
-
-
-
For the upper mounting point, select the appropriate mounting hole according to your intended use:
-
Use the inside mounting hole to slightly lower the vehicle and obtain a more comfortable ride for general trail riding and sports riding.
-
Use the outside mounting hole for a greater loading capacity for working use or carrying an extra charge.
-
-
-
Tilt the bed of the vehicle to get access to the rear shocks.
-
Remove the stock shocks. Refer to the vehicle’s owner manual if needed.
-
IMPORTANT: The left and right rear shocks use different hose configurations.
-
The LEFT REAR SHOCK is the one with the hose attached to the shock via a “banjo bolt”.
-
Install the left rear shock with the head towards the top and with hose coming out towards the front of the vehicle.
-
If needed, rotate the lower eyelet so the rebound adjuster is pointing towards the rear pf the vehicle.
-
-
-
For the upper mounting point, select the appropriate mounting hole according to your intended use:
-
Use the inside mounting hole to slightly lower the vehicle and obtain a more comfortable ride for general trail riding and sports riding.
-
Use the outside mounting hole for a greater loading capacity for working use or carrying an extra charge.
-
-
-
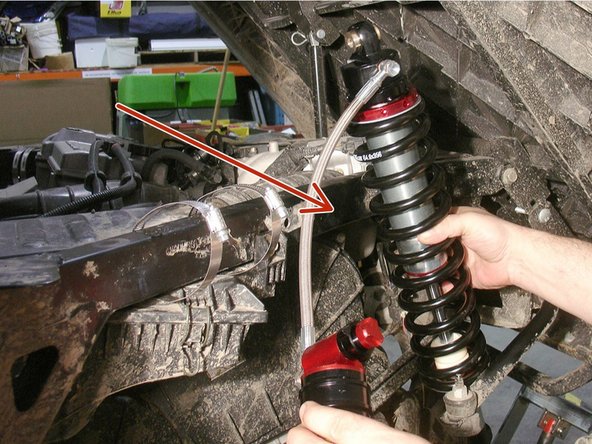
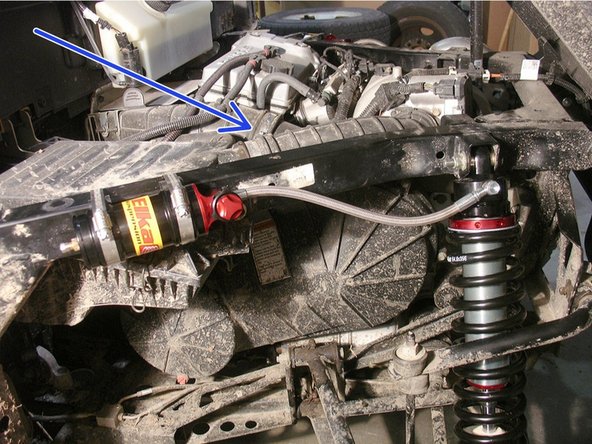
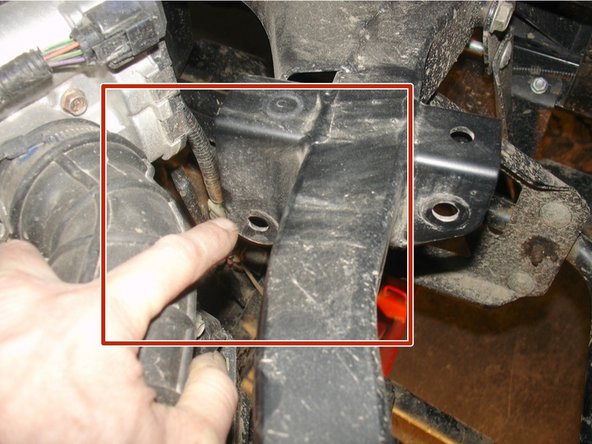
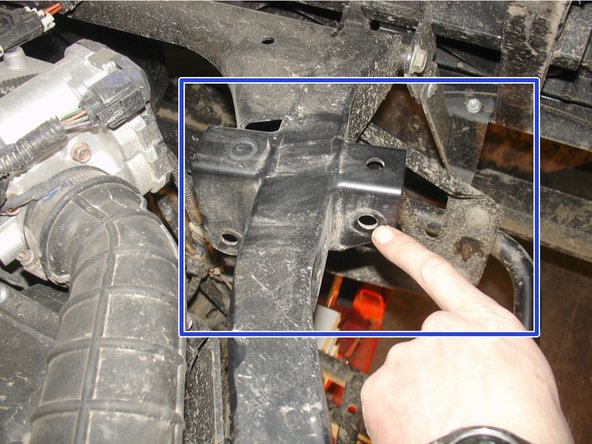
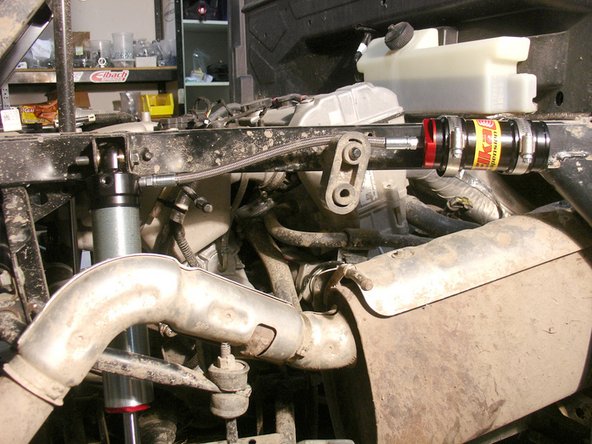
Remove the bolt holding the air box to allow enough clearance to slide in the provided reservoir collars.
-
-
-
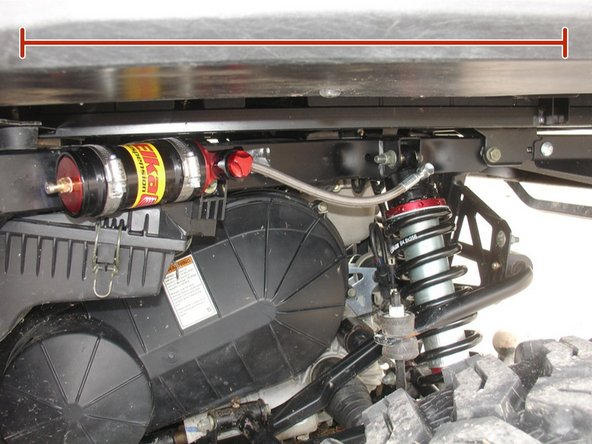
Secure the remote reservoir to the frame using the provided rubber mounts as shown:
-
Stage 3 and Stage 4 models.
-
Stage 2+R models.
-
-
-
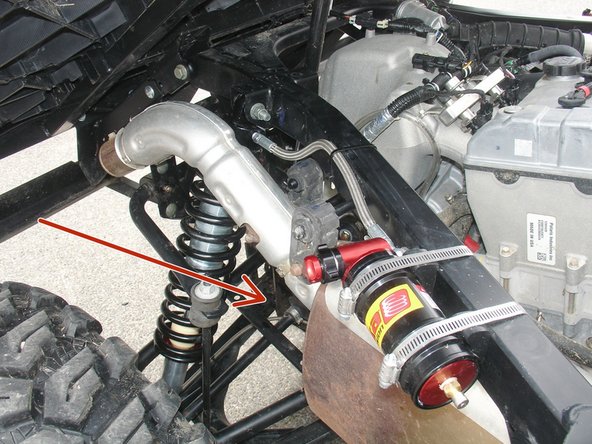
The RIGHT REAR SHOCK is the one with the hose attached directly to the shock.
-
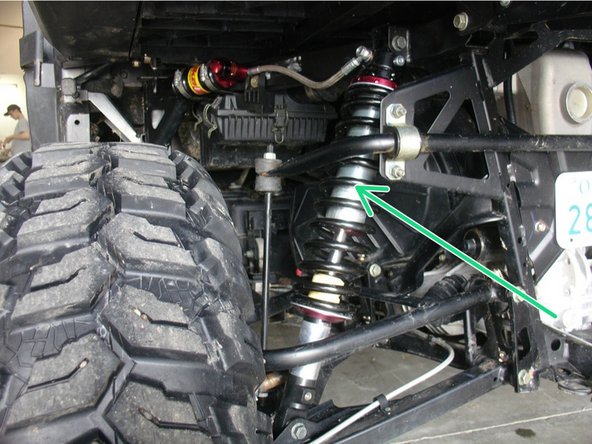
Slide the right rear shock in position through the top of the frame with the head towards the top and with hose coming out towards the front of the vehicle.
-
If needed, rotate the lower eyelet so the rebound adjuster is pointing towards the rear of the vehicle.
-
For the upper mounting point, select the appropriate mounting hole according to your intended use:
-
Use the inside mounting hole to slightly lower the vehicle and obtain a more comfortable ride for general trail riding and sports riding.
-
Use the outside mounting hole for a greater loading capacity for working use or carrying an extra charge.
-
-
-
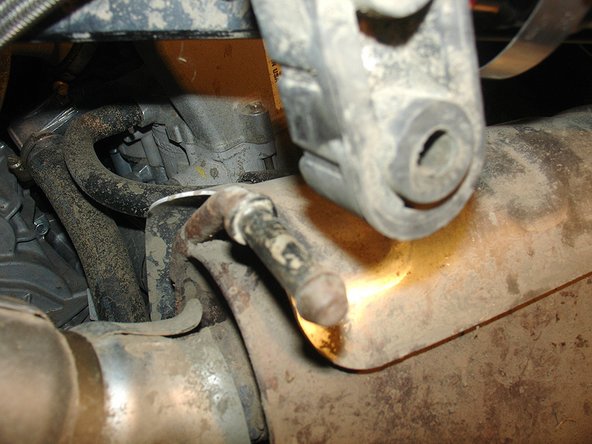
Detach the muffler from its 2 rubber attachments to facilitate the routing of the hose.
-
-
-
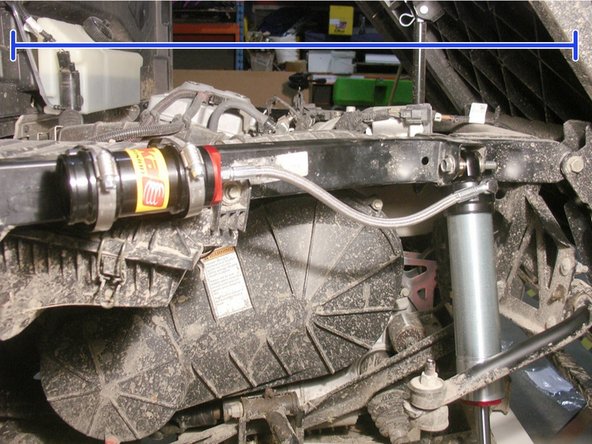
Secure the remote reservoir to the frame using the provided rubber mounts as shown:
-
Stage 3 and Stage 4 models.
-
Stage 2+R models.
-
-
-
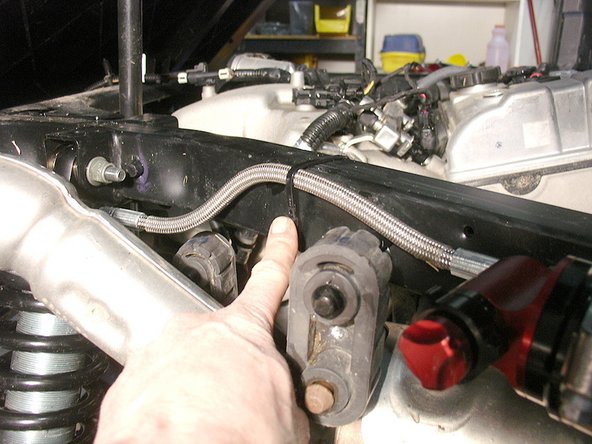
Secure the hose to the frame using a zip-tie as shown.
-
Installation is complete.
-