-
-
Lift the vehicle using a jack or stand so that the wheels are off the ground. Refer to your vehicle's owner manual for specific instructions on how to remove the stock shocks. Keep your original bolts to re-use when installing your new Elka shocks.
-
Removing all side panels is helpful to perform installation.
-
-
-
Install the front new Elka shocks with the reservoir ( on Stage 3-4-5 ) or Schraeder nitrogen valve ( on Stage 1-2 ) at the bottom of vehicle.
-
The reservoir or the shraedder valve must face the Inside of vehicle, as indicated by blue arrows.
-
-
-
On Stage 2, Stage 4 and Stage 5 models, the upper shock eyelets should be installed with the rebound adjuster oriented towards the rear of the vehicle as shown by the red Arrow on the photo ( right side shown ). If needed, you can turn the lower eyelet to orient properly.
-
-
-
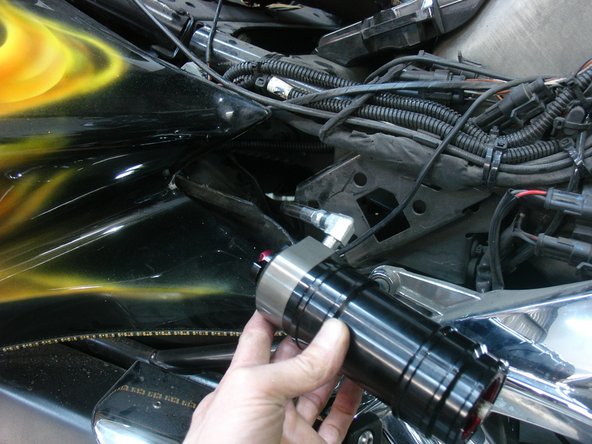
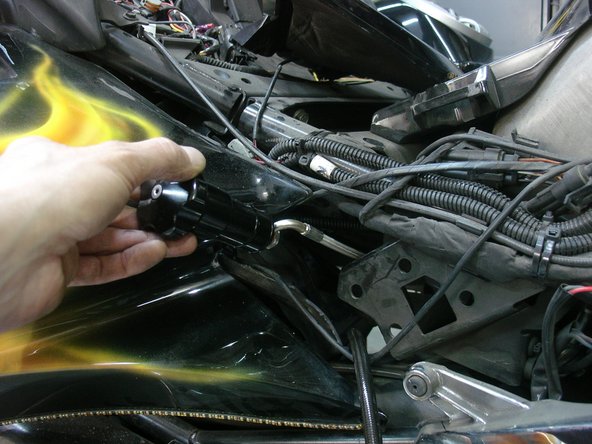
Removing the right side panel and the Under tail cover is necessary to perform installation.
-
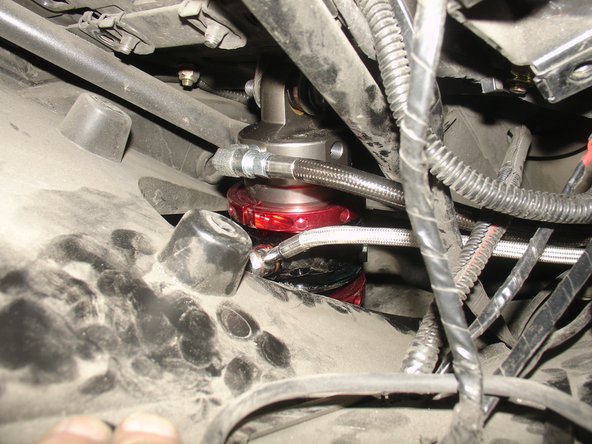
On Stage 1 and Stage 2, the shock must be installed with the shraeder nitrogen valve at the top of vehicle. This shraeder valve also must be installed facing the rear of vehicle.
-
On Stage 4 and Stage 5, the shock must be installed with the hose fitting facing the rear of vehicle, so the hose going to right side
-
On Stage 4 and Stage 5, the reservoir must be passed prior to install shock head. The reservoir must be routed on the right side of vehicle. Do the same if you have a hydraulic preload.
-
-
-
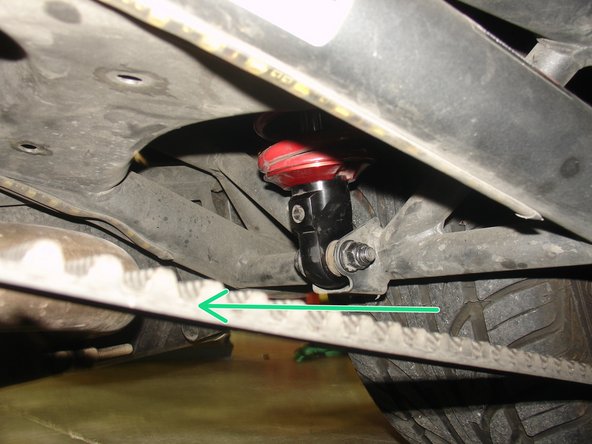
On Stage 4, and Stage 5 models the rebound adjuster located on lower eyelet of the shocks should be oriented towards the front of the vehicle, as shown by green Arrow. If needed, you can turn the lower eyelet to orient properly.
-
-
-
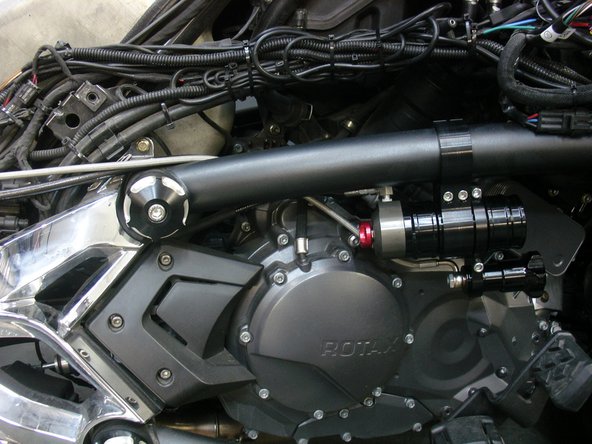
After fix the shock with OEM bolts, and torque them at manufacturer specs, pass the reservoir and the hydraulic preload adjuster behind the frame. The hoses must be routed as shown. You can use ty-wrap to secure them . DO NOT OVER BEND OR PINCH HOSES.
-
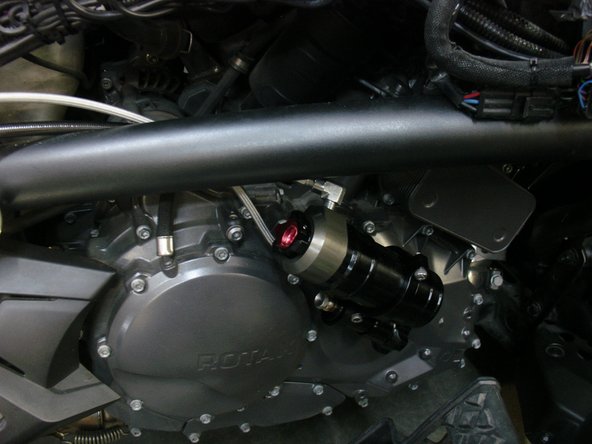
Install reservoir bracket with threaded holes behind the frame, with the notch on top (see red circle). Be careful not install bracket over any cables.
-
-
-
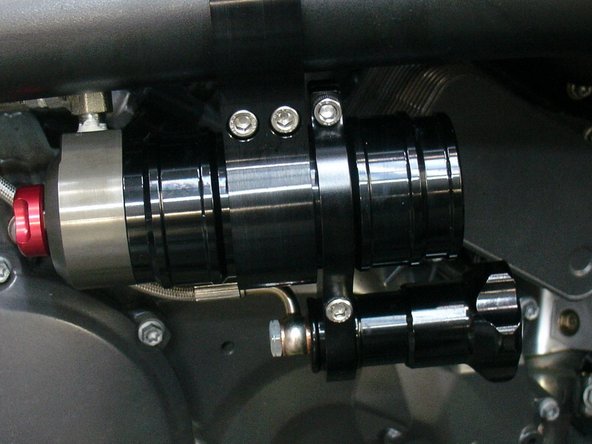
Install the second part of bracket, place the reservoir carefully as shown, and torque the 2 bolts at 10 ft/pnds
-
Place the hydraulic preload adujster bracket just beside reservoir bracket. Clamp the hydraulic preload adjuster close the the hose banjo. Place it carefully and torque the 2 bolts at 10 ft/pnds
-
-
-
For hydraulic preload adjuster with a Stage 2 shock, fix bracket directly on frame as shown and torque the 2 bolts at 10 ft/pnds
-