-
-
Lift the vehicle off the ground, then remove front tires.
-
Remove sway-bar link on both sides to allow lowers arms to temporary move separately.
-
Separate upper control arms from steering knuckles.
-
-
-
Remove lower shock bolts, then remove the 3 upper nuts to remove OEM shocks.
-
ELKA SHOCKS WITHOUT RESERVOIR:
-
Install new Elka shocks using OEM lower bolts and provided upper bolts.
-
Torque 3 upper bolts at 35 ft/lb, and lower bolt at 80 ft/lb.
-
ALIGNMENT IS CRITICAL: A professional alignment must be performed before driving this vehicle at highway speeds. Do not attempt to drive your vehicle after this install without having the alignment readjusted to factory specs.
-
-
-
ELKA SHOCKS WITH RESERVOIR:
-
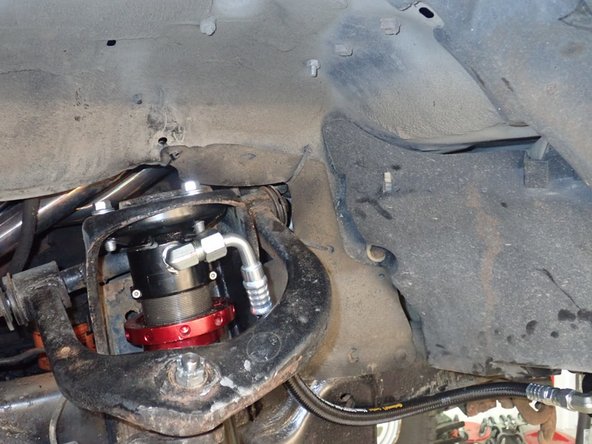
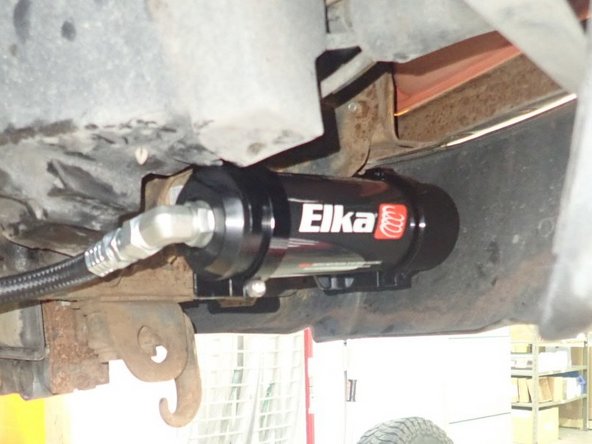
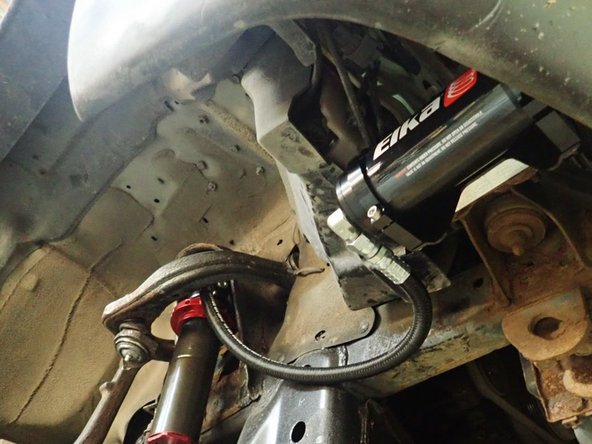
Install Elka shocks using OEM lower bolts and provided upper bolts. Hoses must face front of vehicle as shown (right side shown).
-
Torque 3 upper bolts at 35 ft/lb, and lower bolt at 80 ft/lb.
-
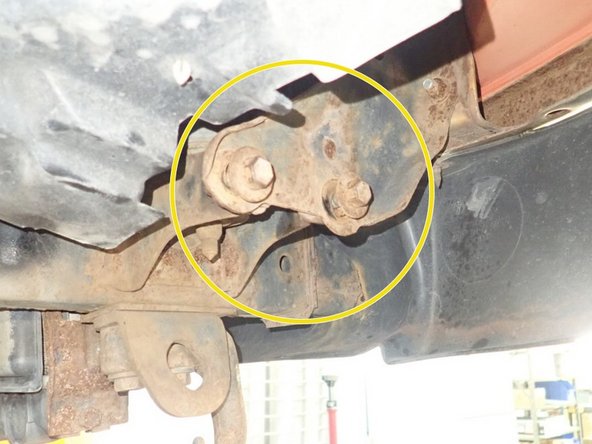
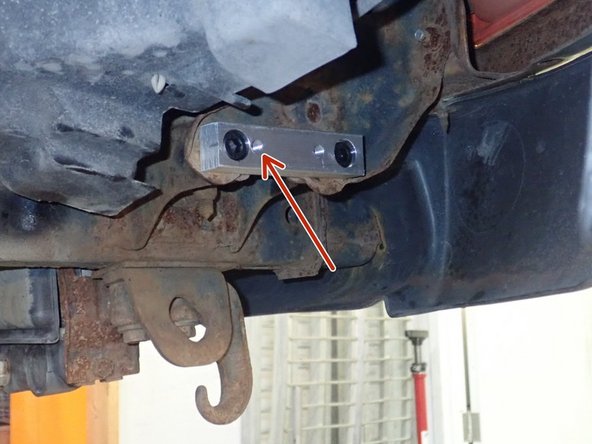
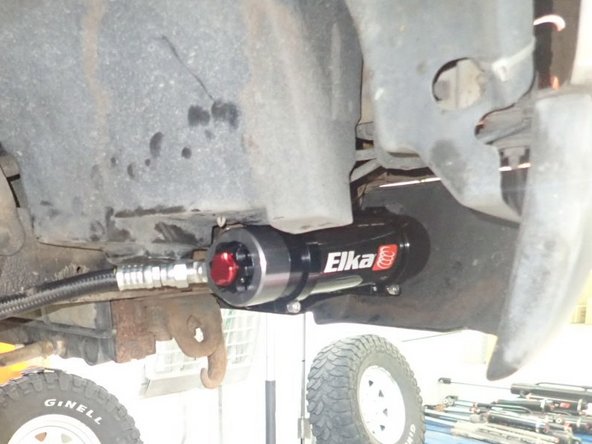
Remove bumper's bracket bolts showed by yellow circle, then fix supplied rectangular spacer first with provided bolts as shown. Torque bolts at 40 ft/lb.
-
IMPORTANT: Thethreaded hole closest to the rectangular spacer holding bolt showed by red Arrow must face the shocks (right side shown)
-
-
-
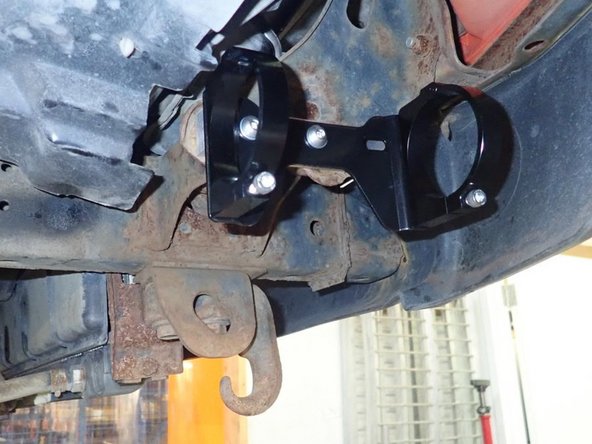
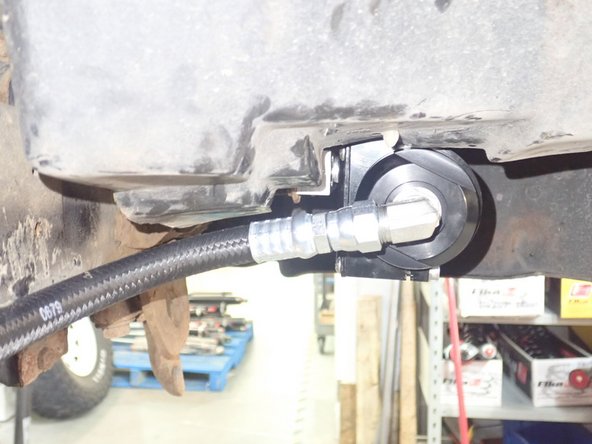
Using provided bolts and washers, fix reservoir holding bracket assembly into rectangular spacer as shown.
-
We recommend using threads locker and a torque of 20ft/lb.
-
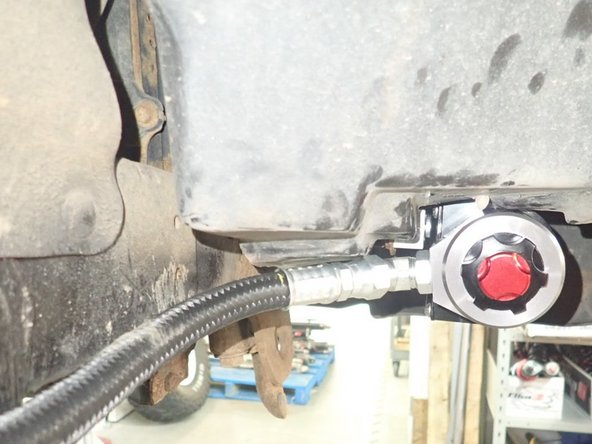
Sit reservoir into bracket's clamps, then place the reservoir in a way to place hose properly. BE CAREFUL TO NOT OVERBEND THE HOSE.
-
-
-
Reservoir's hoses must follow the frame as shown. When réservoirs are properly oriented, use threads locker on clamp's bolts and torque them at 10 ft/lb.
-
ALIGNMENT IS CRITICAL: A professional alignment must be performed before driving this vehicle at highway speeds. Do not attempt to drive your vehicle after this install without having the alignment readjusted to factory specs.
-
-
-
Remove OEM rear shocks.
-
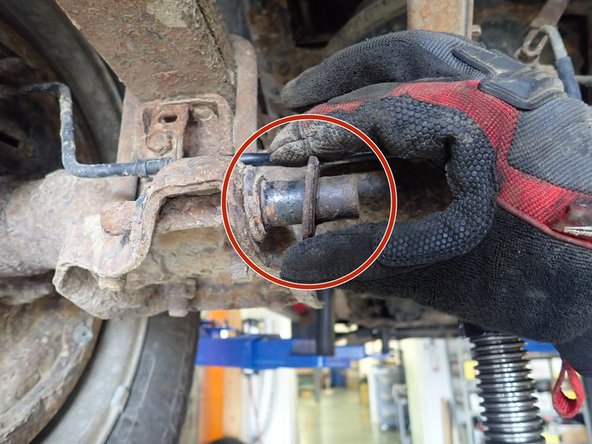
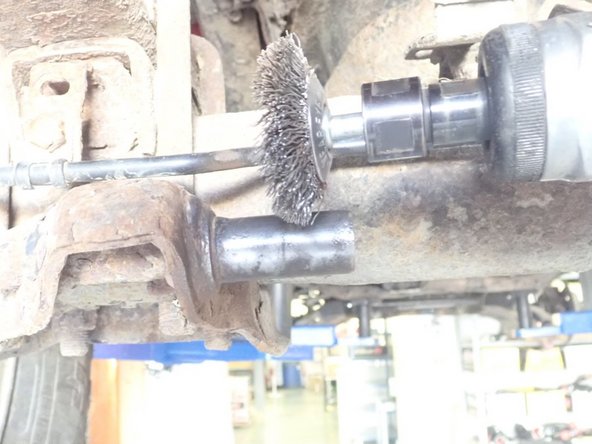
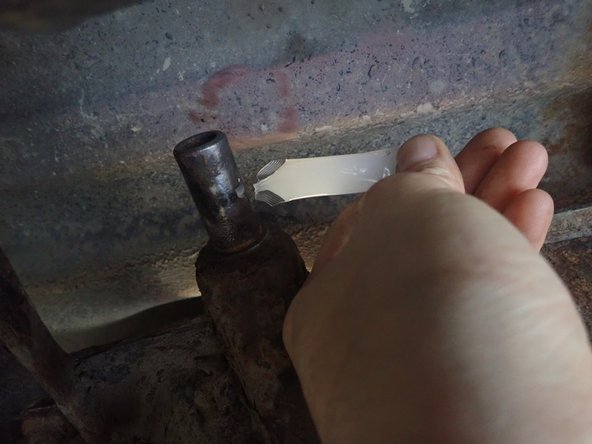
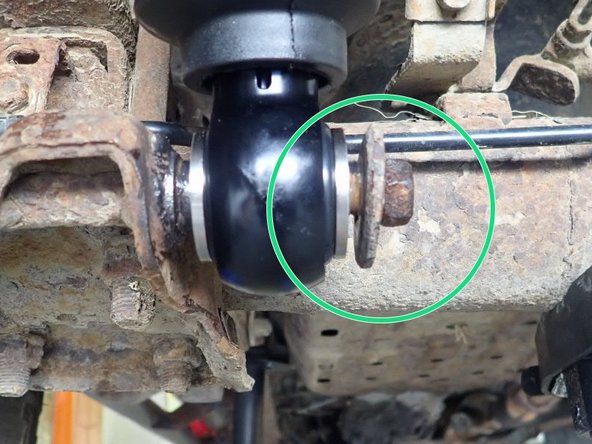
Remove OEM washers as shown by red circle. Clean carefully all the studs to remove rust, then apply grease on them.
-
-
-
IMPORTANT: 'Rear shocks have different length. the driver side need the shorter shock, and passenger side the longest shock. (except: 2-2.5 lift shocks)
-
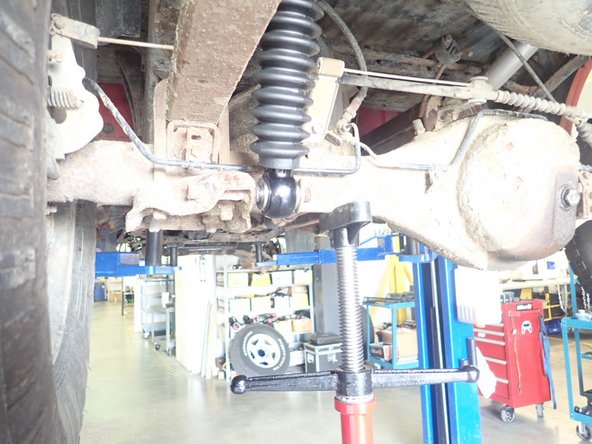
To install new Elka shocks, use a jack or an underhoist to compress rear axle to align both truck's studs with the shock's ends. Make one side at the time, and place head of shock to the top.
-
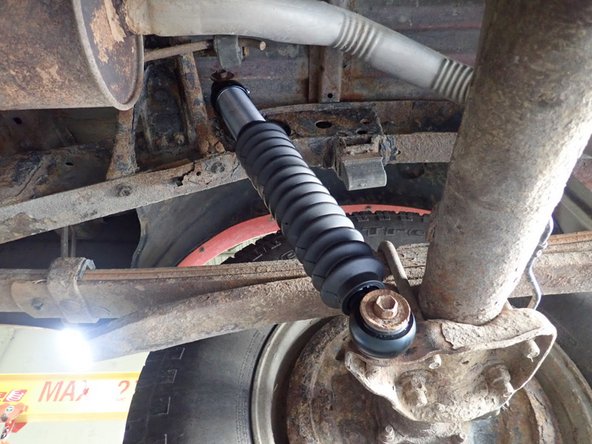
Do not use the OEM washers with bigger I.D. that goes over the studs. Push shock firmly in place, than use OEM bolts and washers to secure shocks in place as shown by green circle.
-
We recommend using threads locker and torque bolts at 30 ft/lb
-