-
-
Lift the vehicle off the ground, then remove tires
-
Remove front skid plate to have access to the sway bar.
-
On a vehicle WITOUT KDSS system, Remove the bolts holding the sway bar to the chassis.
-
-
-
Remove sway bar link on vehicle WIYHOUT KDSS system.
-
Remove brake line bracket from steering knuckle.
-
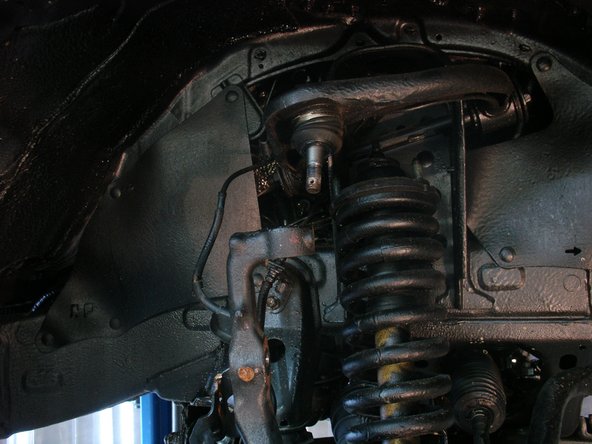
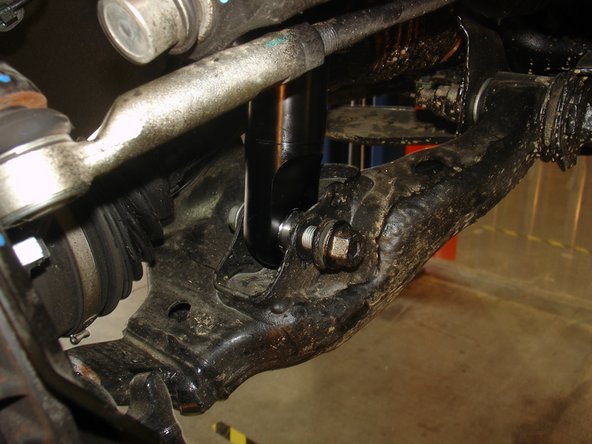
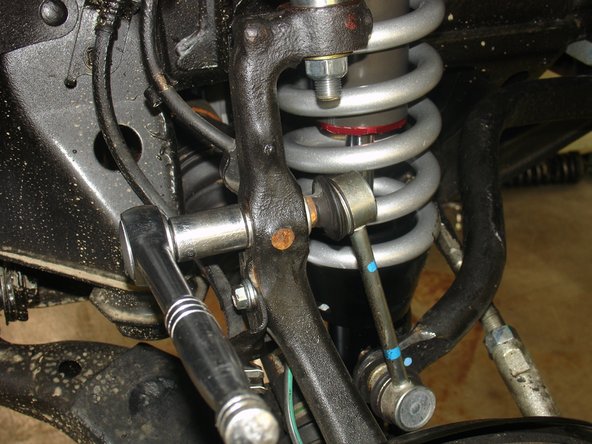
Remove the nuts from the upper and lower shock mounts.
-
-
-
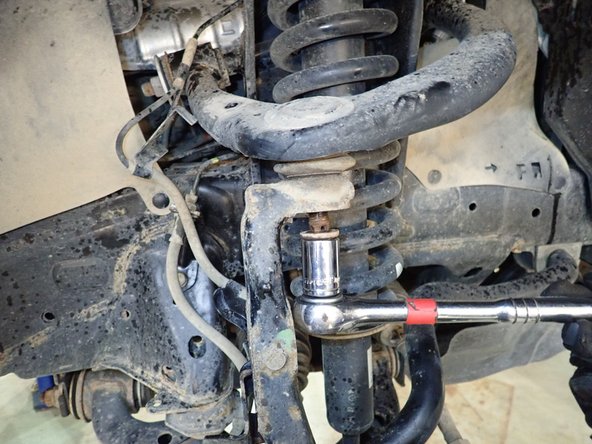
Remove upper arm ball joint nut and separate it from steering knuckle.
-
Raise upper arm to allow space to remove and install the shocks.
-
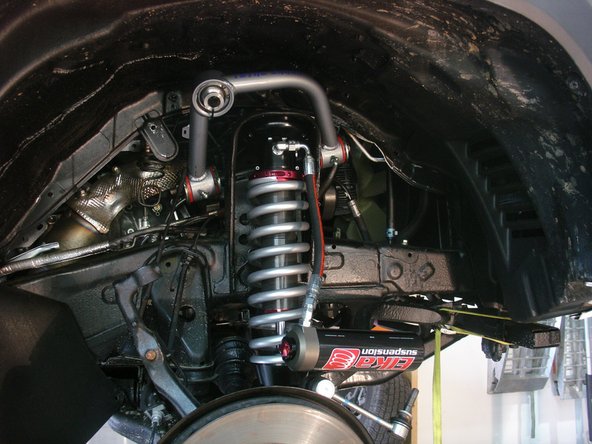
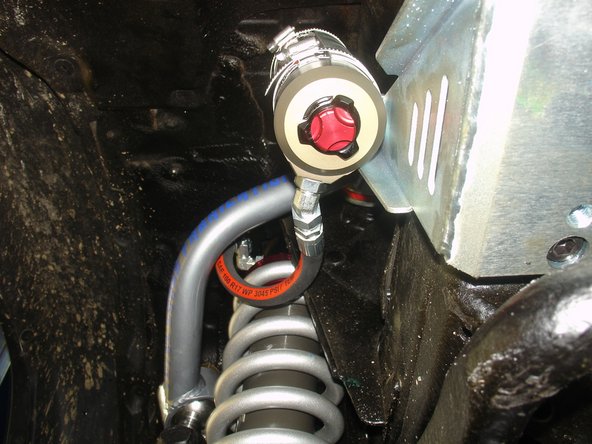
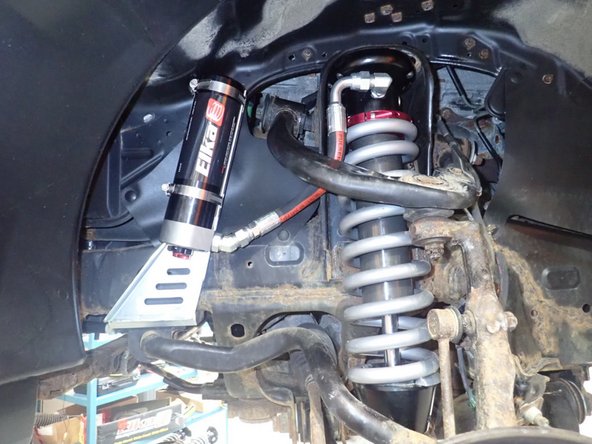
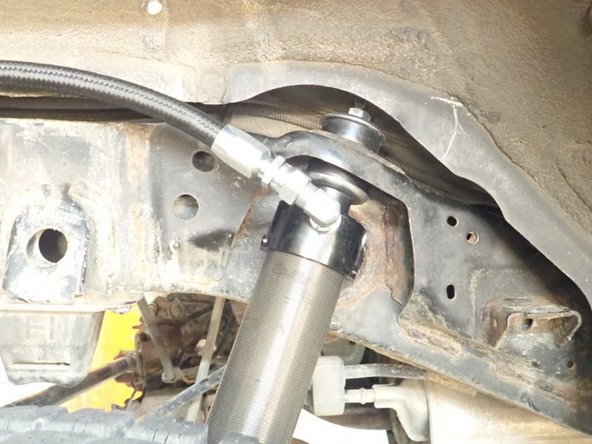
Install Elka shocks with the hose fitting facing the front of vehicle (right side shown)
-
-
-
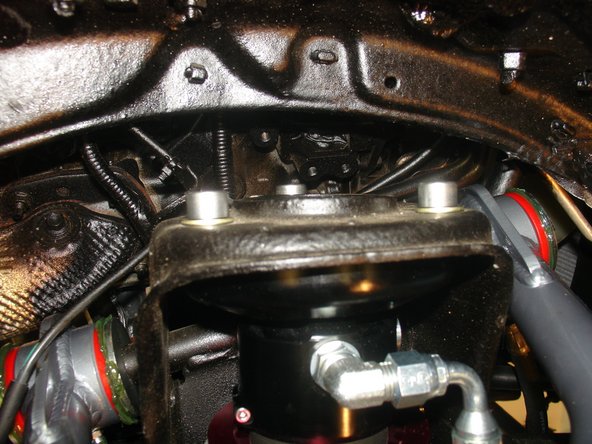
Install supplied upper bolts but don't fully tighten them.
-
Install the lower mounting bolt then tighten all the bolts.
-
Install the upper arm.
-
-
-
For vehicle WITHOUT KDSS:
-
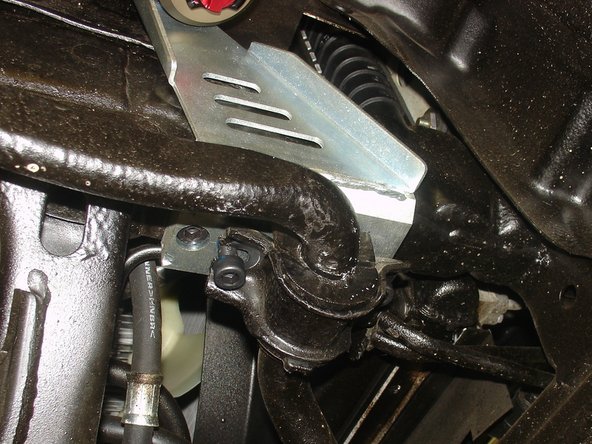
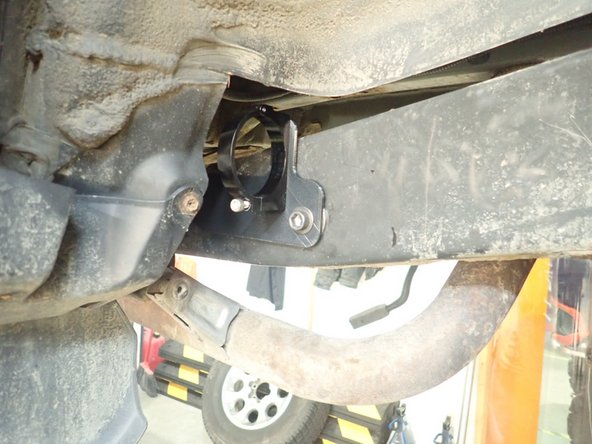
With the longer supplied bolts, and using the counter bore holes, fix the reservoir bracket in the sway bar mounting holes (right side shown).
-
Slide reservoir holding collars into bracket.
-
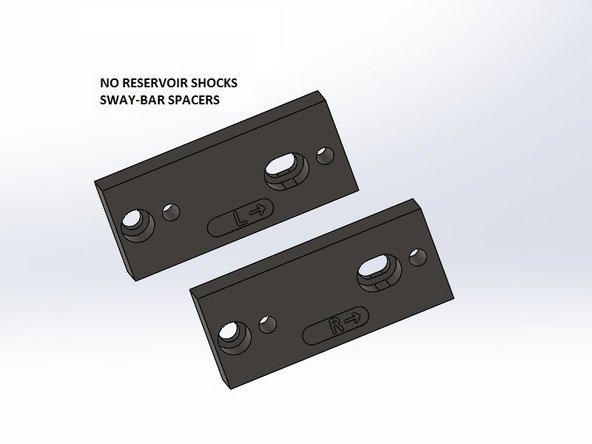
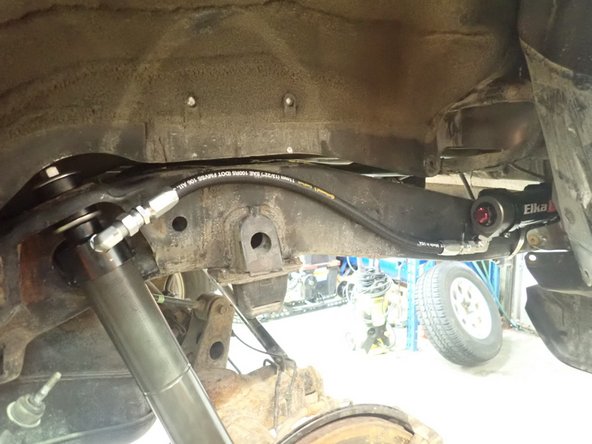
For Elka shocks without réservoir, use supplied rectangular spacers to move the sway bar forward. Use the spacer with an "L" on left side, with the arrow pointing forward the vehicle. Do the same with the "R" spacer on the right side.
-
-
-
For vehicle WITHOUT KDSS:
-
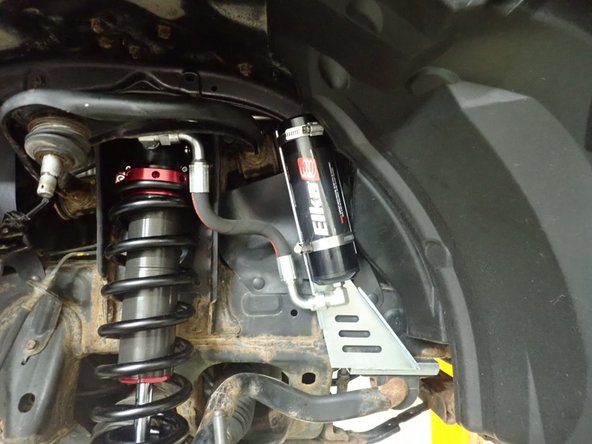
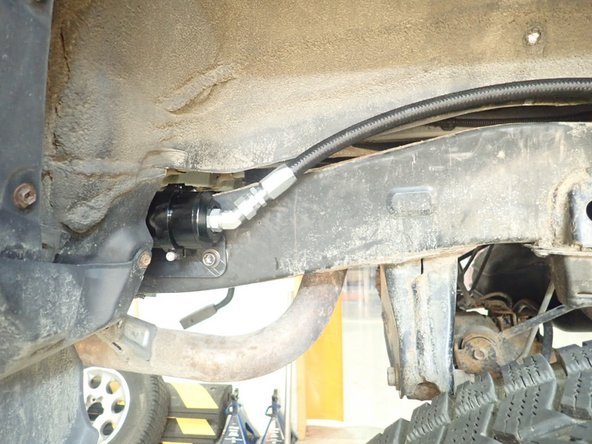
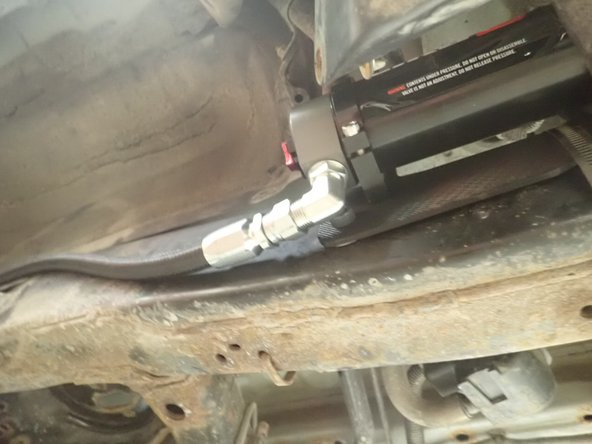
Sit the reservoir into bracket, locating it as high as possible while aligning the hose as close to the chassis possible.
-
Make sure the hose is not rubbing anywhere and do not overbend it.
-
Tighten collars.
-
-
-
For vehicle WITHOUT KDSS:
-
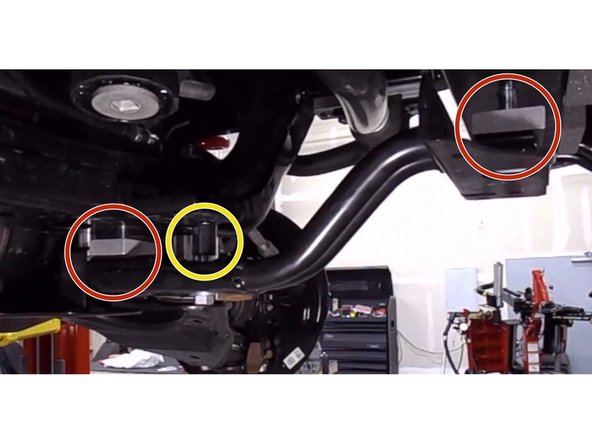
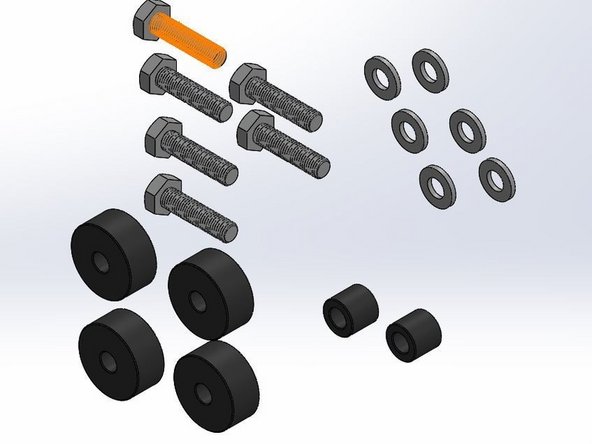
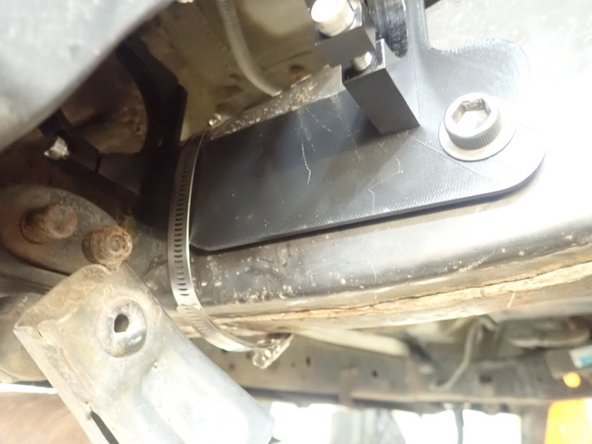
To avoid interference with the brackets that secure the radiator and the sway bar, install the spacers supplied between the brackets and the frame as shown. Use the big spacers in the places shown with red circles and small spacers in the place indicated by a yellow circle. Secure with the longer bolts provided.
-
-
-
For vehicle WITHOUT KDSS:
-
Install the sway bar supports with the short supplied bolts into the new Elka reservoir bracket.
-
Install sway bar link and brake line bracket in place.
-
ALIGNMENT IS CRITICAL: A professional alignment must be performed before driving this vehicle at highway speeds. Do not attempt to drive your vehicle after this install without having the alignment readjusted to factory specs.
-
-
-
For vehicle WITH KDSS system:
-
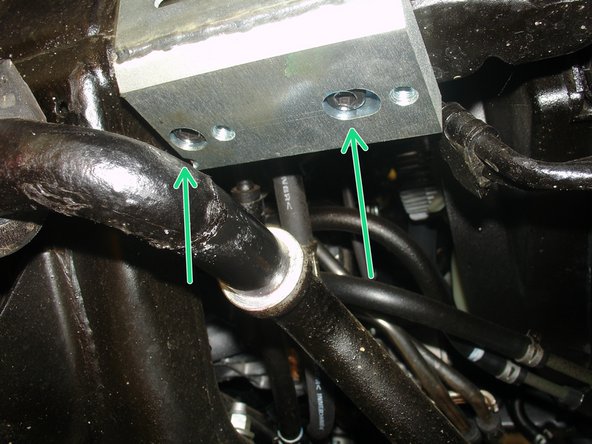
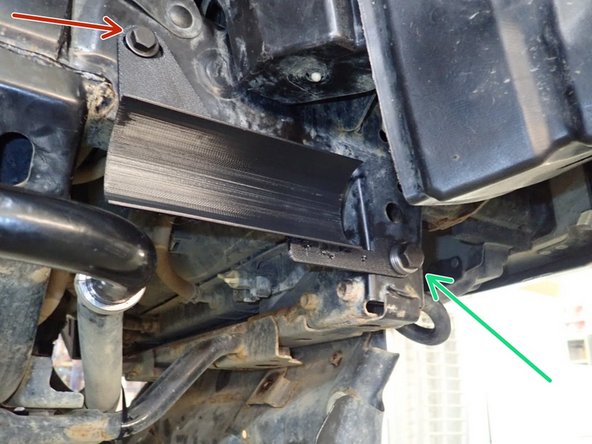
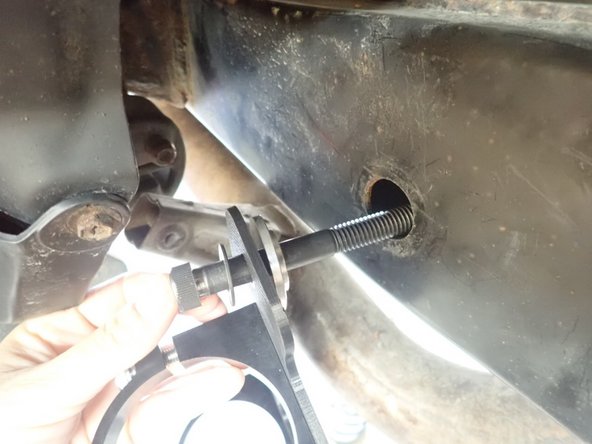
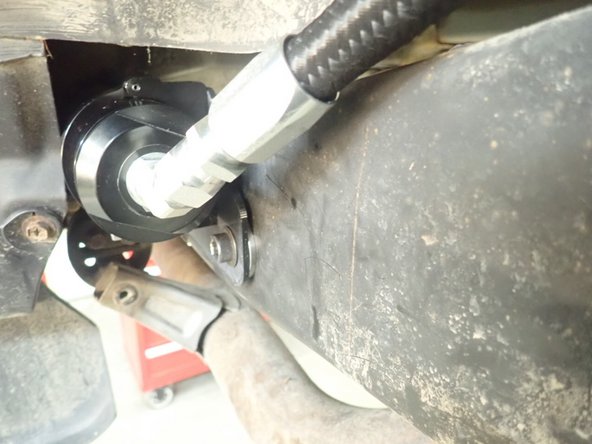
With the longer supplied bolt passed through frame (red Arrow) and the shorter supplied bolt screwed into existing threaded hole (green Arrow), fix reservoir bracket. (right side shown)
-
Slide reservoir holding collars into bracket.
-
Sit the reservoir into bracket, aligning the hose as close to the chassis possible.
-
For Elka shocks without reservoir, no bracket is needed.
-
ALIGNMENT IS CRITICAL: A professional alignment must be performed before driving this vehicle at highway speeds. Do not attempt to drive your vehicle after this install without having the alignment readjusted to factory specs.
-
-
-
Remove the rear oem shocks.
-
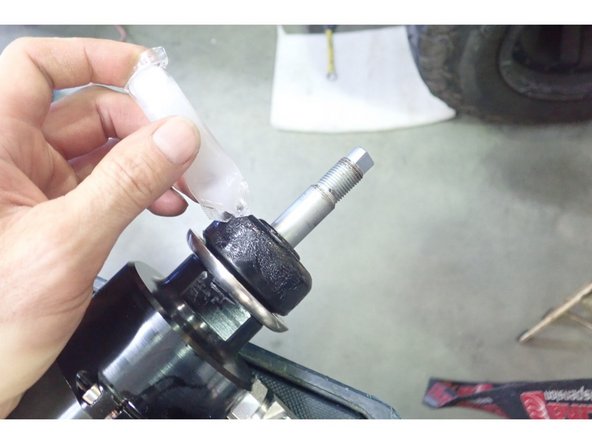
Apply supplied grease on upper rubber isolators.
-
Install lower mount first, then compress shock to slide upper stud in place. Must have 1 isolator Under and 1 over the shocks mounting.
-
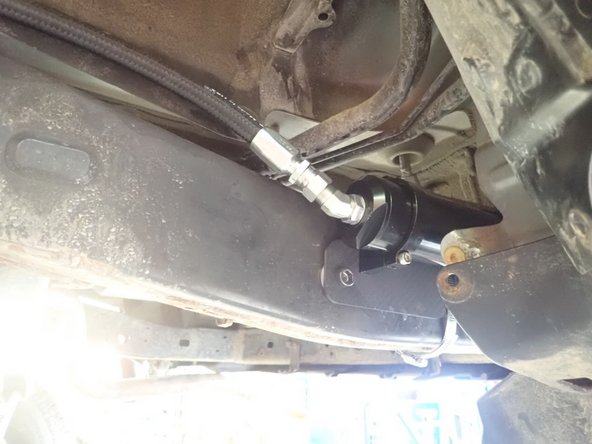
Shock hose must be installed facing rear of vehicle (right side shown).
-
-
-
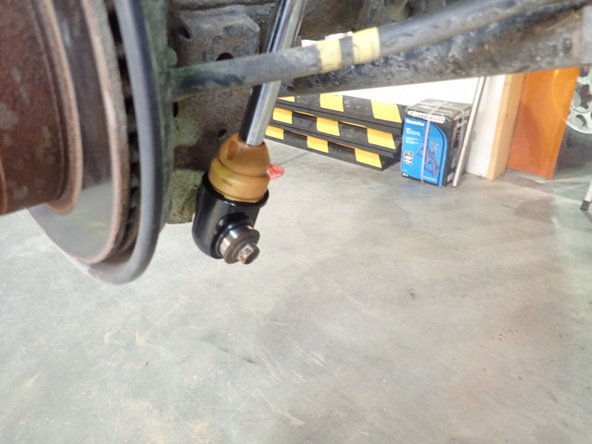
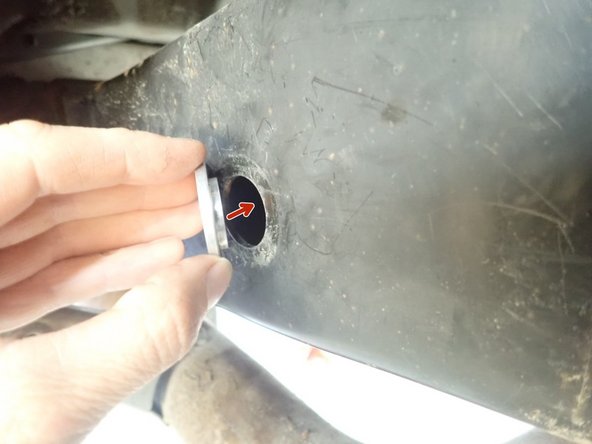
Remove plastic cap located rearward the rear wheels outside and Inside frame.
-
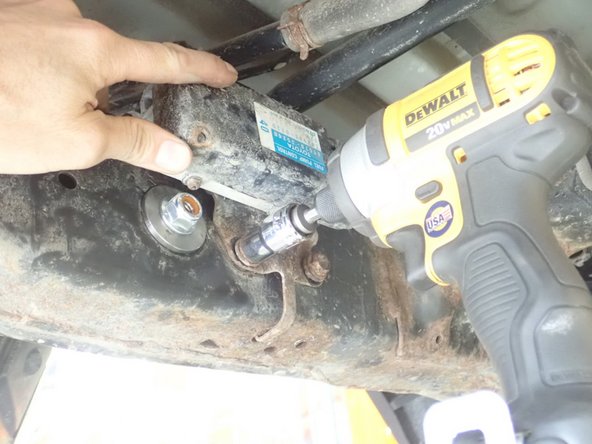
Slide right side bracket bolt into frame's hole with supplied hardware as shown. Be careful instaling spacers on the side with the smallest diameter into the frame's holes to center the bolt.
-
-
-
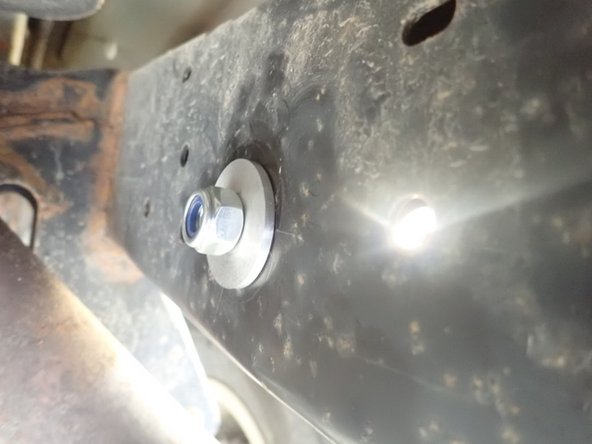
Use second spacer and provided nut to fix bracket in place.
-
When the bracket as been tight in horizontal position, secure it with the provided steel collar around the frame. Be careful to not place the collar screw where the rezzy will be installed.
-
-
-
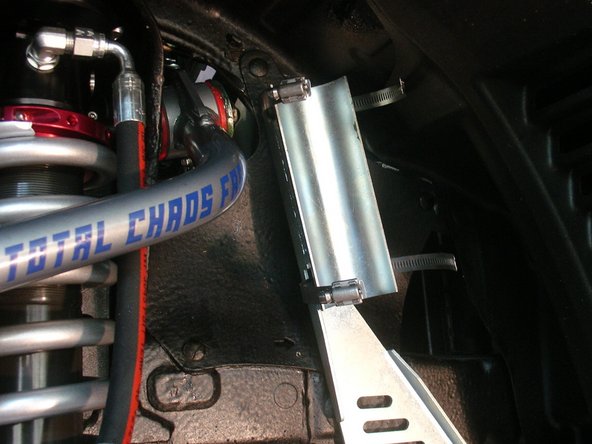
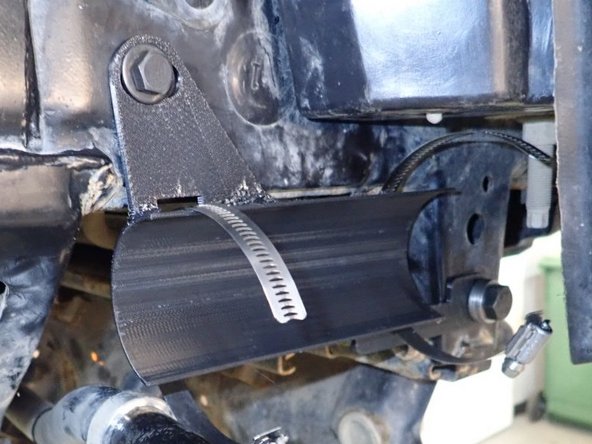
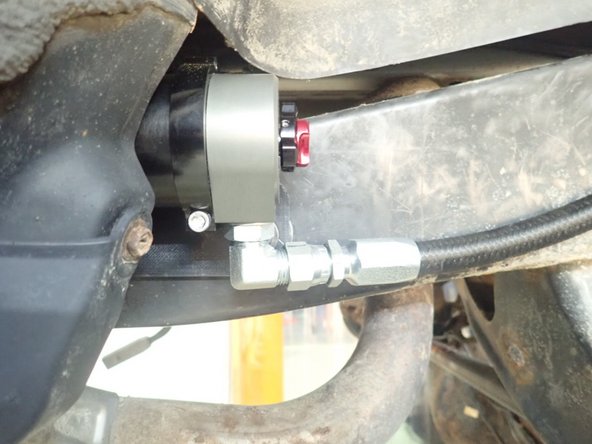
Slide reservoir into bracket clamps.
-
To avoid any interference with wheels in fully compressed suspension situation, fix reservoir as far back as you can and turn it to put the hose closest to the frame possible as shown.
-
Torque clamps bolts at 12 ft-lbs.
-
-
-
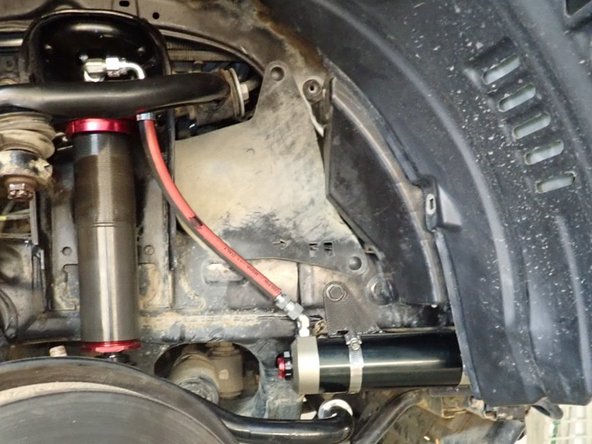
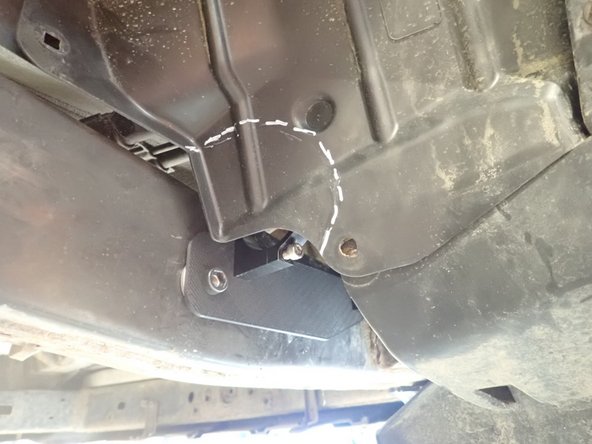
For the left side of vehicle, the Wheel liner should be cut to allow space for reservoir as shown by the dotted line on picture.
-
Also, you may have to move up fuel pump controller by unscrewing it and tighten it higher.
-
Follow same steps as the left side for fixing reservoir bracket.
-
-
-
Left side reservoir installation shown.
-
ALIGNMENT IS CRITICAL: A professionnal alignment must be performed before driving this vehicle at highway speeds. Do not attempt to drive your vehicle after this install without having the alignment.
-