-
-
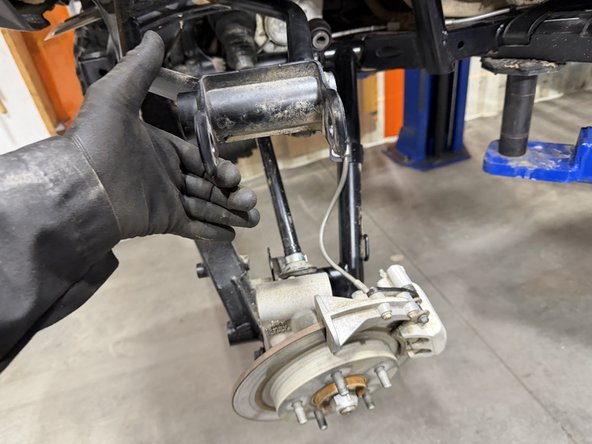
Remove the wheels and the OEM shocks.
-
Remove the top bolt from the knuckle to remove the rear shocks.
-
Keep your original bolts to re-use when installing your new Elka shocks.
-
-
-
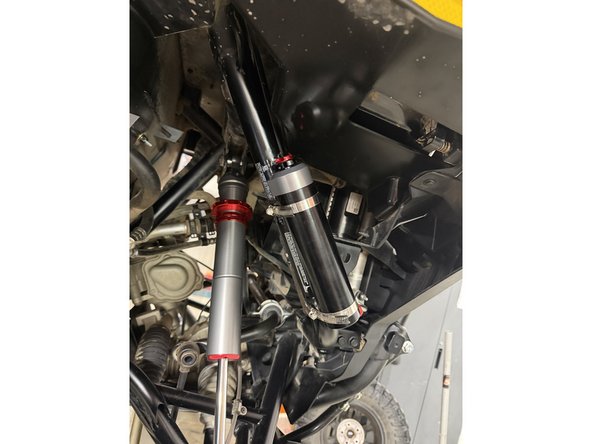
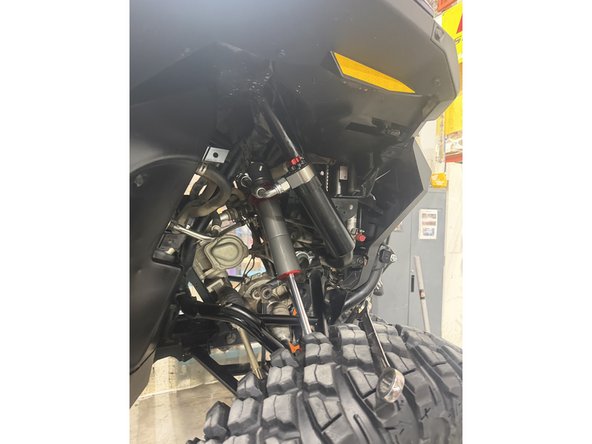
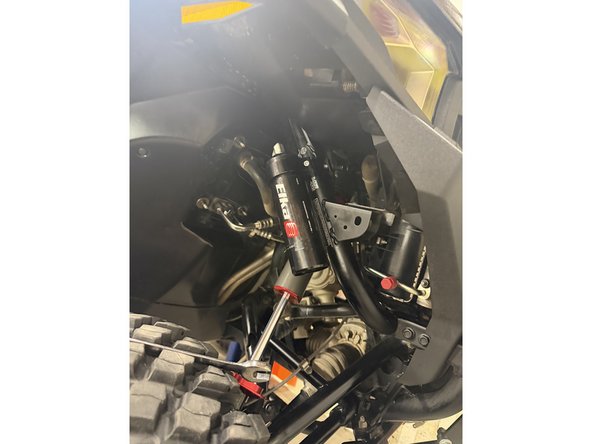
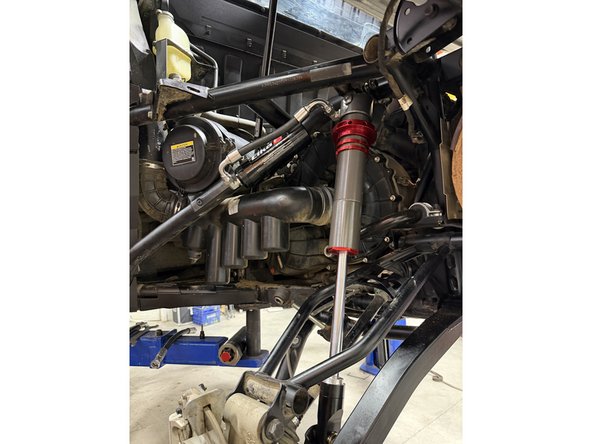
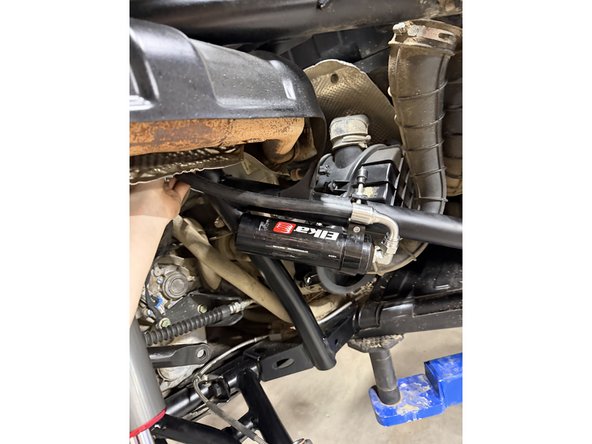
Install the shock as shown, with the head at the top and the hose facing outward.
-
On Stage 2, Stage 4 and Stage 5 models, the lower shock eyelets should be installed with the rebound adjuster oriented towards the rear of the vehicle. If needed, you can turn the lower eyelet to orient properly.
-
Note: The hose configurations differ between the left and right sides. Refer to the images to ensure the shocks are installed on the correct side. Right side shown.
-
-
-
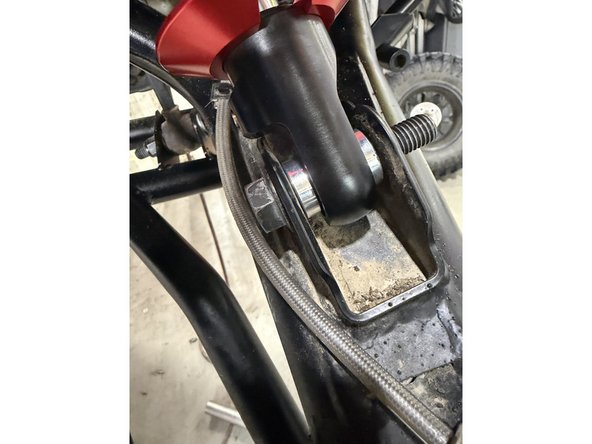
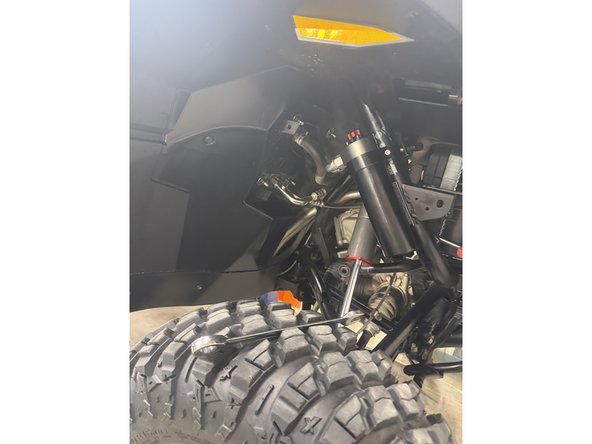
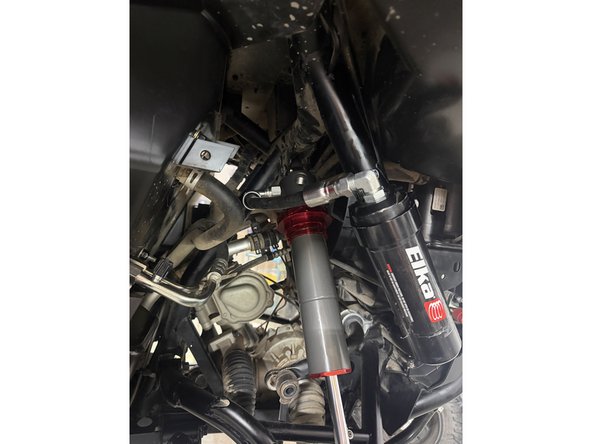
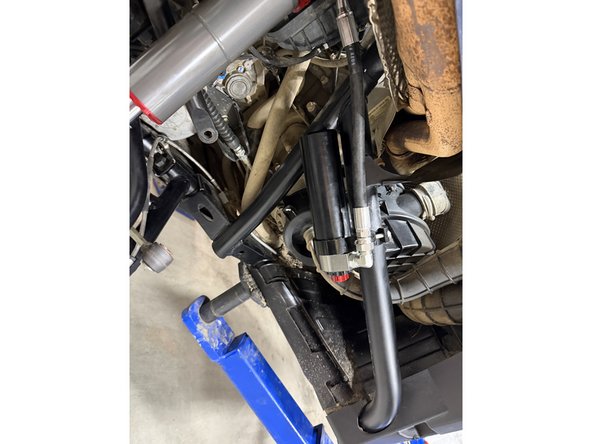
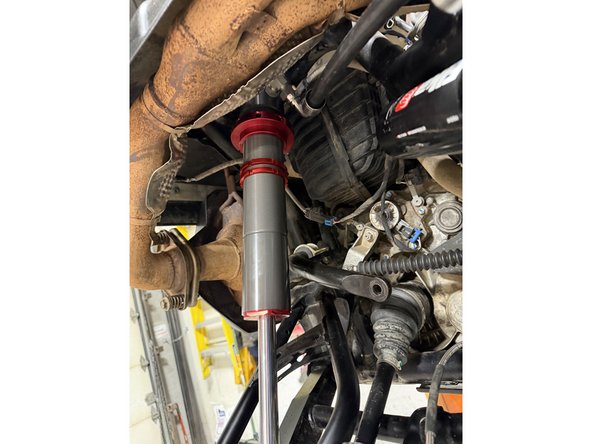
Install the shock as shown, with the head at the top and the hose facing outward.
-
On models with rebound, the lower shock eyelets must be installed with the rebound adjuster oriented toward the rear of the vehicle. If needed, rotate the lower eyelet to ensure proper orientation.
-
Note: The hose configurations differ between the left and right sides. Refer to the images to ensure the shocks are installed on the correct side. Right side shown.
-
-
-
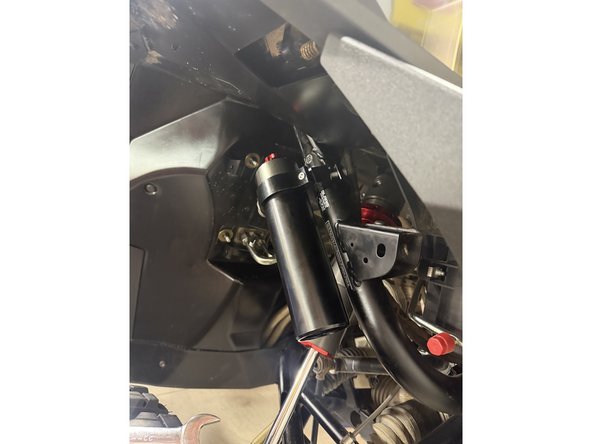
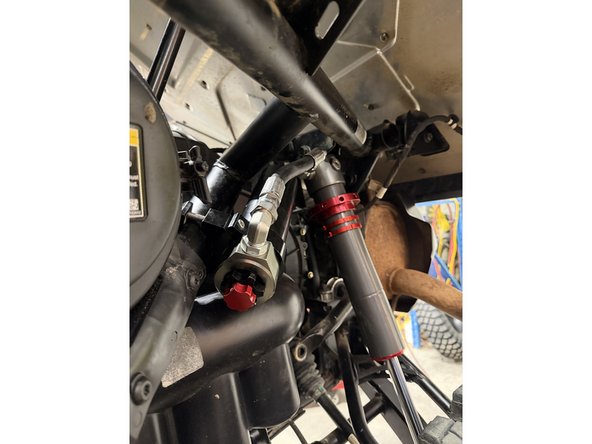
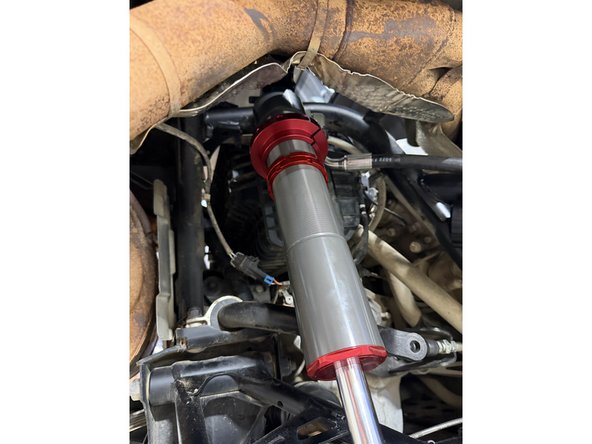
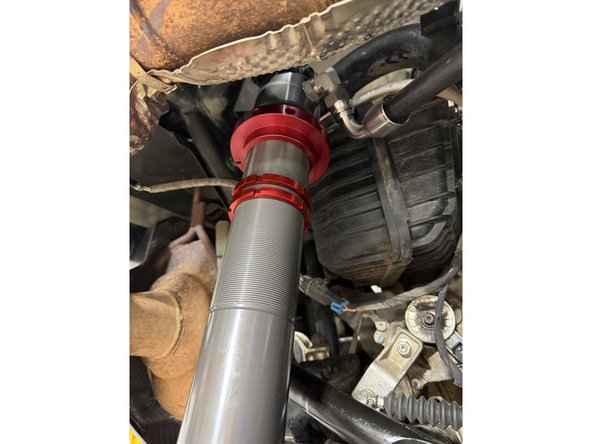
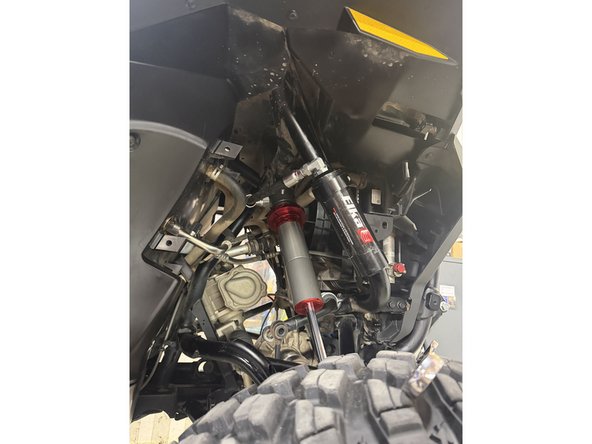
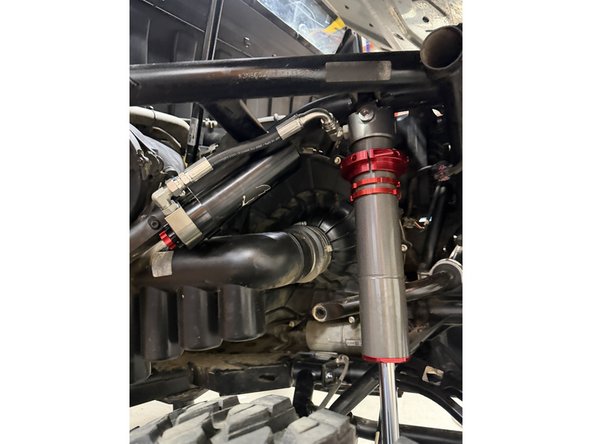
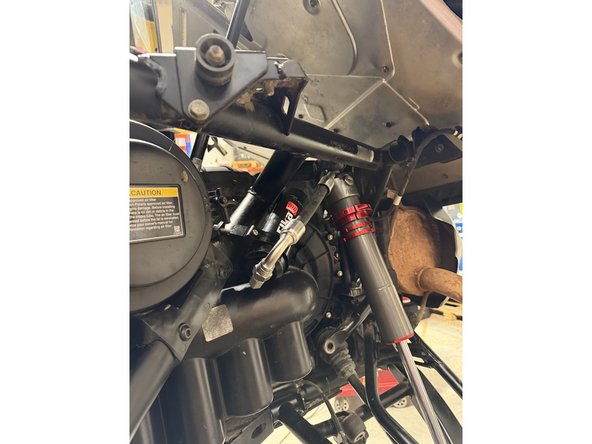
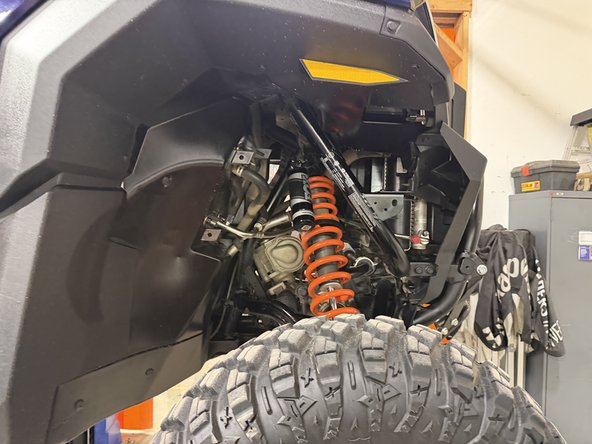
Install the shock as shown, with the head at the top and the hose facing outward.
-
On models with rebound, the lower shock eyelets must be installed with the rebound adjuster oriented toward the rear of the vehicle. If needed, rotate the lower eyelet to ensure proper orientation.
-
Note: The hose configurations differ between the left and right sides. Refer to the images to ensure the shocks are installed on the correct side.
-
-
-
Install the shock as shown, with the head at the top and the hose facing outward.
-
On models with rebound, the lower shock eyelets must be installed with the rebound adjuster oriented toward the rear of the vehicle. If needed, rotate the lower eyelet to ensure proper orientation.
-
Note: The hose configurations differ between the left and right sides. Refer to the images to ensure the shocks are installed on the correct side.
-