-
-
Lift the vehicle using a jack or stand so that the skis and track are off the ground. Refer to your vehicle's owner manual for specific instructions on how to remove the stock shocks. Keep your original bolts to re-use when installing your new Elka shocks.
-
-
-
Install the front new Elka shocks with the reservoir ( on Stage 3-4-5 ) or Schraeder nitrogen valve ( on Stage 1-2 ) at the top of vehicle. ( right side shown ).
-
On Stage 2, Stage 4 and Stage 5 models, the lower shock eyelets should be installed with the rebound adjuster oriented towards the outside of the vehicle as shown by the blue Arrow on the photo ( right side shown ). If needed, you can turn the lower eyelet to orient properly.
-
-
-
To help the removal and installation of center shock, remove the upper bolt of the limiting strap to remove center shock tension.
-
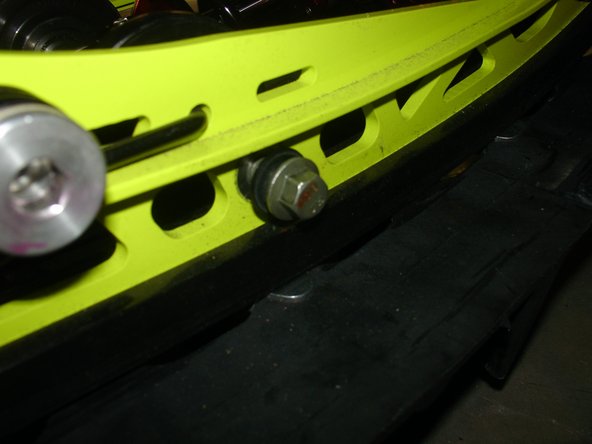
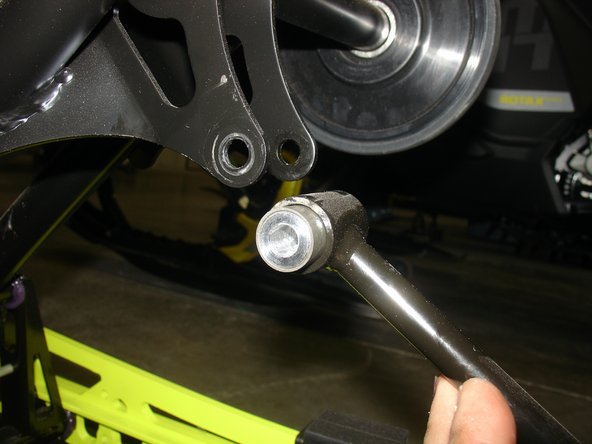
Unscrew lower shaft bolts. You may need to use impact gun. Remove upper bolt.
-
Keep all the original lower parts, they will be re-use on Elka shock. The upper inner sleeve will not be re-use.
-
-
-
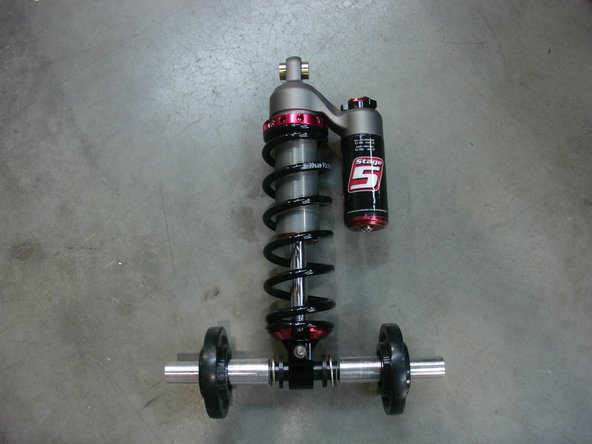
Install the original lower shaft into the lower Elka shock eyelet. Install the provided Elka spacers on each side of the eyelet as shown by red arrows, then install all the original spacers and sleeves.
-
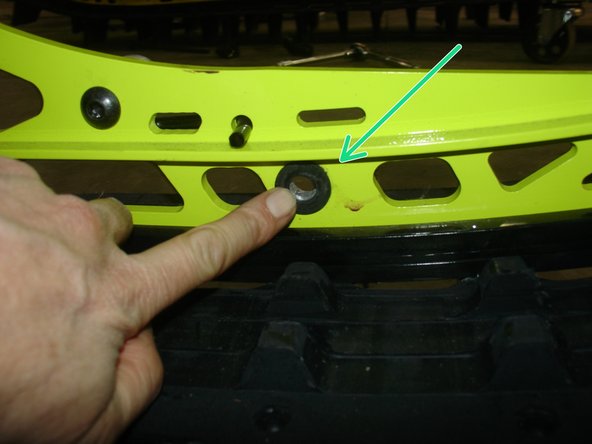
Do not forget to put back inner track rail original washers ( as shown by green Arrow ) when installing center shock
-
-
-
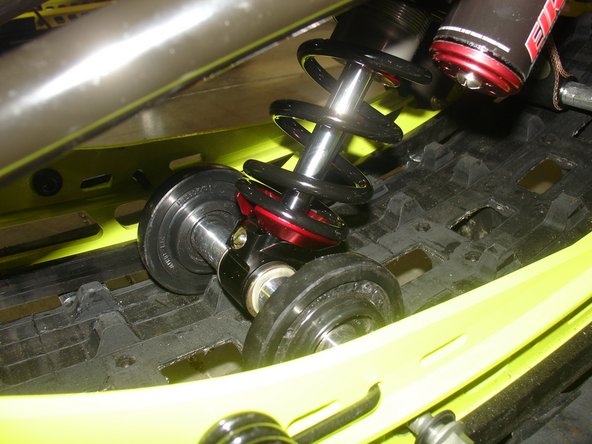
The lower shock eyelet rebound adjuster screw must be oriented toward the rear of vehicle, and the piggyback reservoir must be installed toward the right of vehicle as shown.
-
Tighten the bolts at manufacturer's specifications .
-
Re-install the limiting strap. You may need to add load on vehicle to perform installation.
-
-
-
Remove the upper bolt of linkage arm.
-
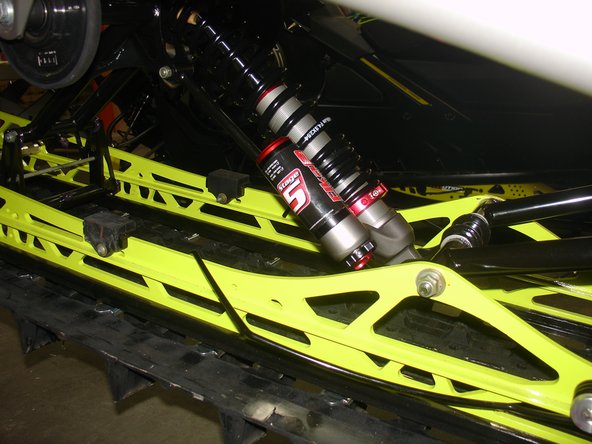
Remove the oem shock, and install the new Elka shock with the piggyback reservoir oriented toward the floor and the right of vehicle as shown.
-
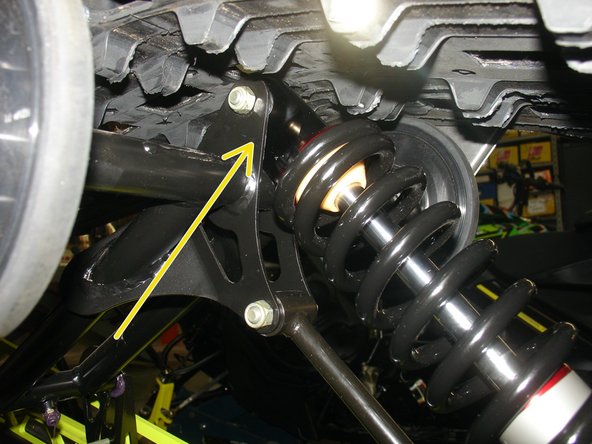
The rebound adjuster screw must be oriented toward the floor to have access with a long screwdriver across the rear suspension arm as shown by the yellow Arrow. You can turn the eyelet to orient properly before installing the shock.
-
You may need to add load on lower linkage to align bolt holes. Tighten all bolts at manufacturer's specifications.
-