-
-
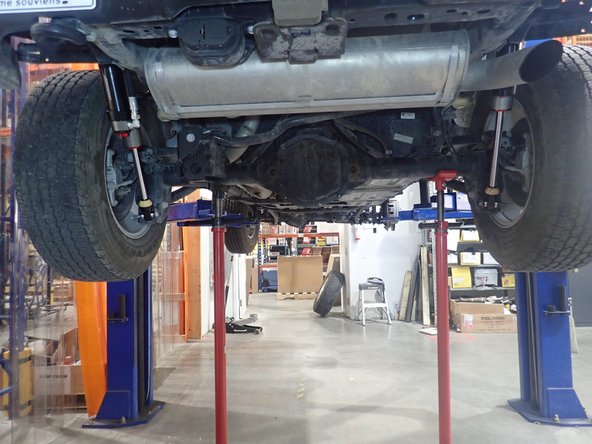
Lift the vehicle off the ground, then remove front tires.
-
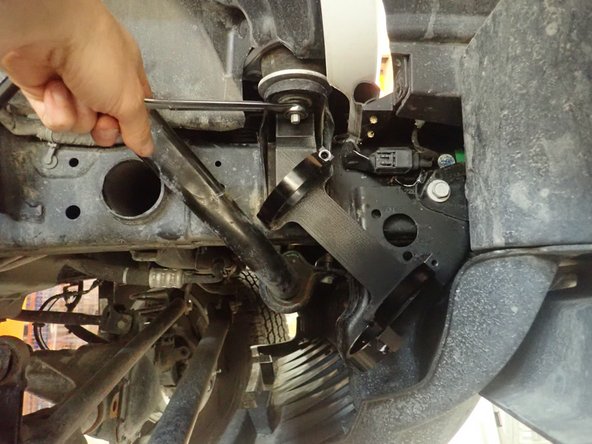
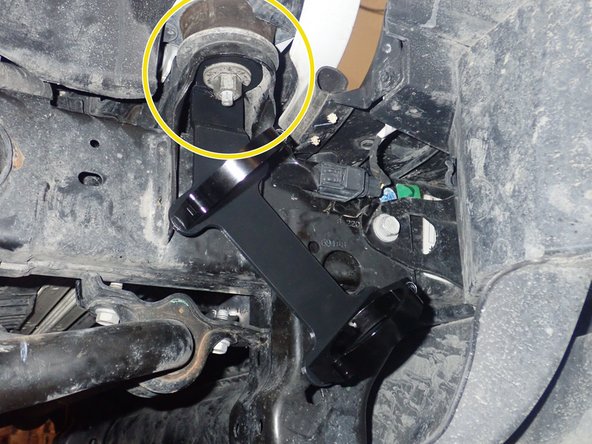
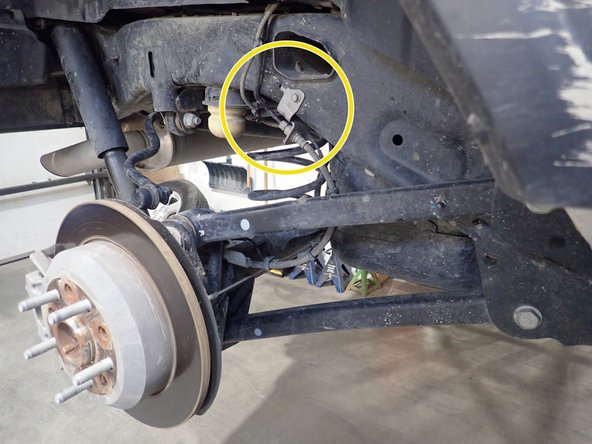
Remove the bolts beside shocks that hold the brake lines (showed by yellow circle) on each side to ensure that will not be damaged and stretched during installation
-
-
-
Supporting the lower front axle is recommended to remove tension on the shock absorber attachment points.
-
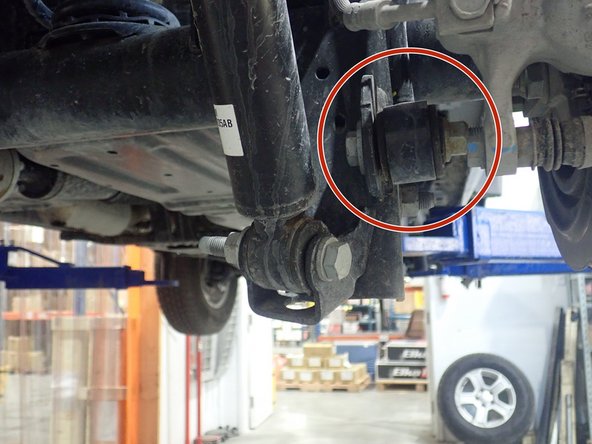
Remove sway-bar link on both sides to allow front axle to drop down much as it can.
-
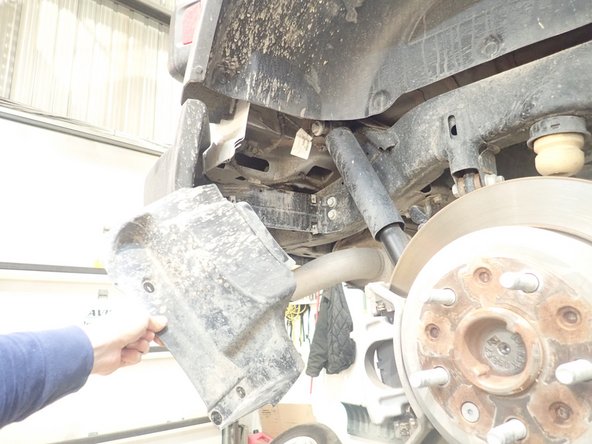
Remove lower and upper shock bolts.
-
-
-
SHOCKS WITH RESERVOIR:
-
Remove nut that hold the front cab support, then install reservoir bracket as shown. ( Right side shown)
-
Place bracket to be parallel to frame, then torque nut at 50 ft/lb.
-
SHOCKS WITHOUT RESERVOIR:
-
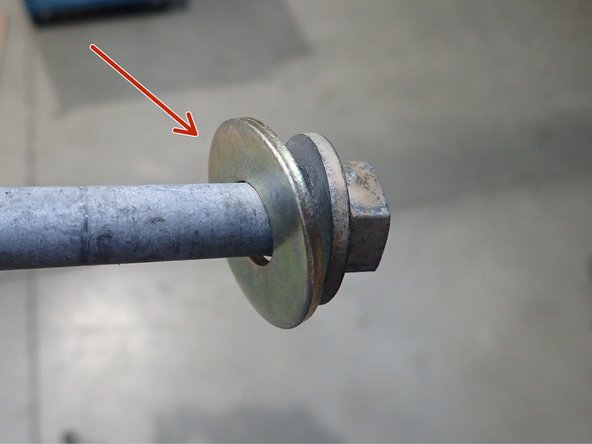
No bracket needed for shocks without reservoir, install with shock's head upside as shown. Before installing shock, install supplied washer on upper bolt as shown in step5.
-
-
-
FOR 3 INCHES (66mm) BODY SHOCKS ONLY:
-
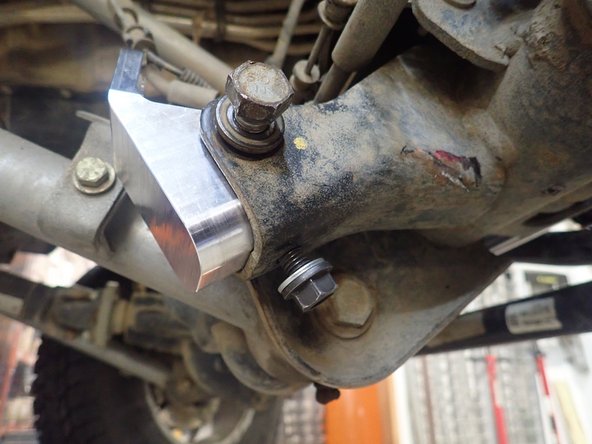
For 3" body shocks, a relocating lower bracket must be installed.
-
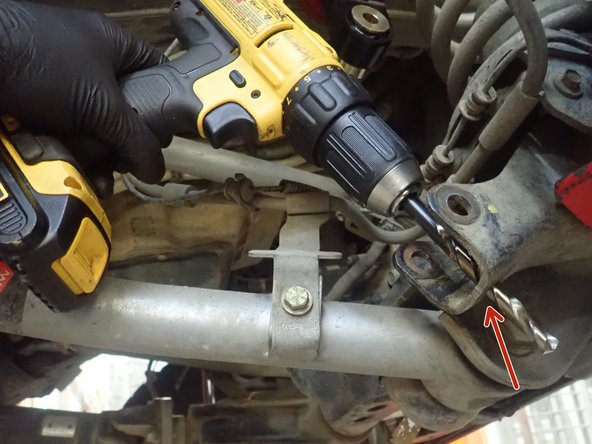
First, enlarge existing lower hole in the lower oem bracket as shown in picture. Use a 10mm or 7/16" drill.
-
Install bracket as shown (right side shown), and use oem lower shock bolt to hold bracket in place, do not tighten for now.
-
Use supplied bolt and washer and fix bracket by the lower hole, then torque the bolt at 60 Lb-Ft. Torque the upper bolt at 80 Lb-Ft.
-
Use supplied bolt to fix lower shock mount in next step as shown. Use threads locker then torque bolt at 70 Ft-Lb.
-
-
-
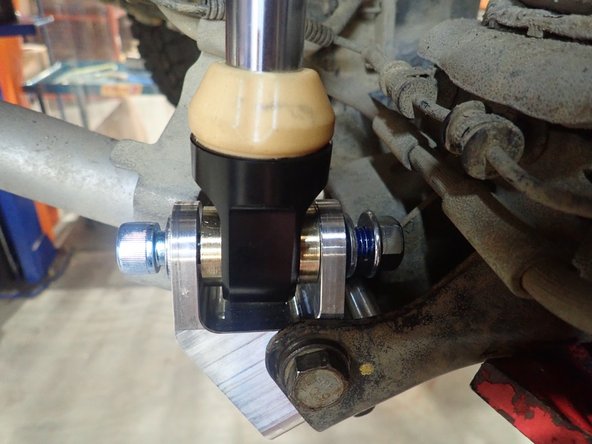
First, install supplied washer on UPPER BOLT as shown by red arrow. ( front and rear).
-
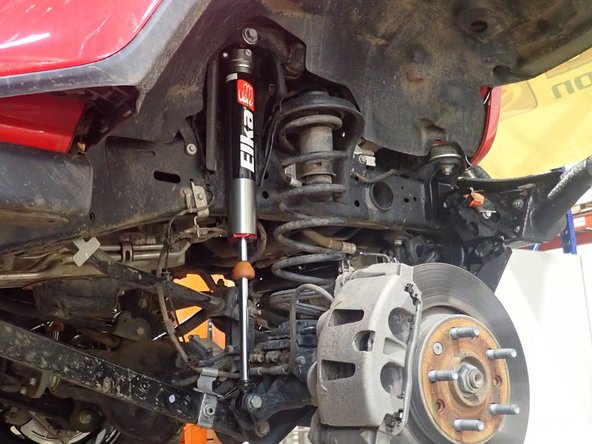
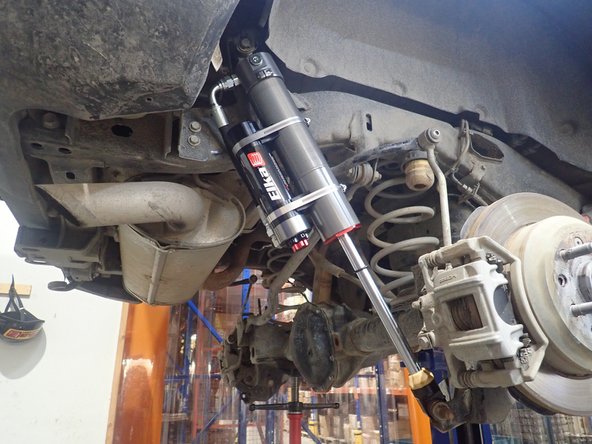
Place shock with the hose facing front of vehicle in place (right side shown)and install upper bolt, then push on lower shock's shaft or move lower axle to install lower bolt. Torque bolts at 80 ft/Lb.
-
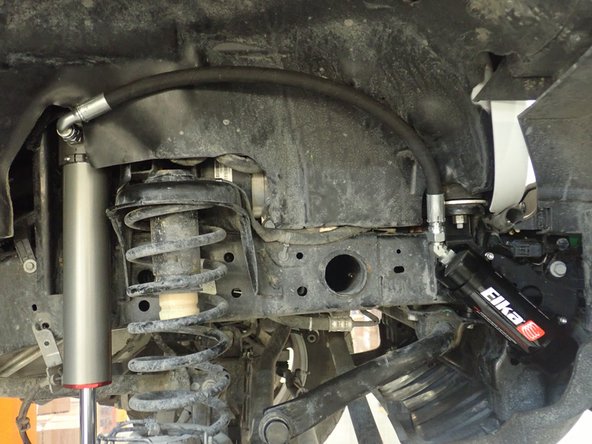
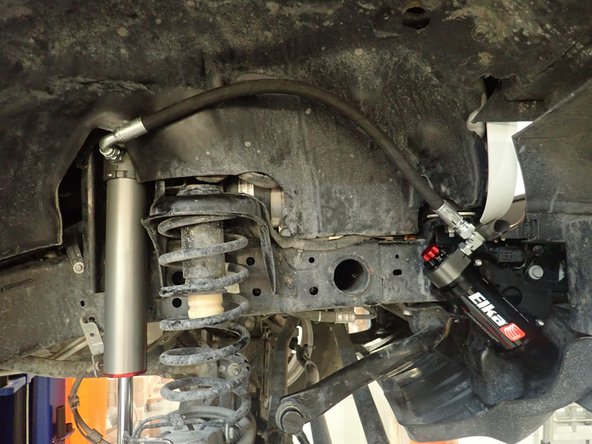
Sit reservoirs into bracket's clamps, then place the reservoir in a way to place hose properly as shown. Hose must be closest to the frame possible without however rubbing on frame.
-
When reservoir is placed properly, apply threads locker on clamp's bolts and torque them at 10 ft/Lb
-
Re-install sway-bar links, brake lines and wheels, then torque all bolts at manufacturer's specs.
-
ALIGNMENT IS CRITICAL: A professional alignment must be performed before driving this vehicle at highway speeds. Do not attempt to drive your vehicle after this install without having the alignment readjusted to factory specs.
-
-
-
Supporting the lower rear axle is recommended to remove tension on the shock absorber attachment points.
-
Remove the bolt that hold the brake line (showed by yellow circle) on each side to ensure that it will not be damaged and stretched during installation.
-
Remove sway-bar link (showed by red circle) on both sides to allow rear axle to drop down much as it can.
-
-
-
Remove rear plastic protectors to have access to upper shock bolt.
-
Remove upper and lower shock bolts, then remove OEM shocks.
-
FOR SHOCKS WITH RESERVOIR ONLY:
-
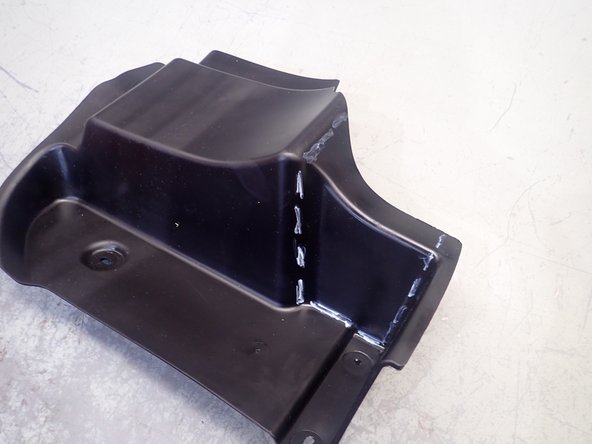
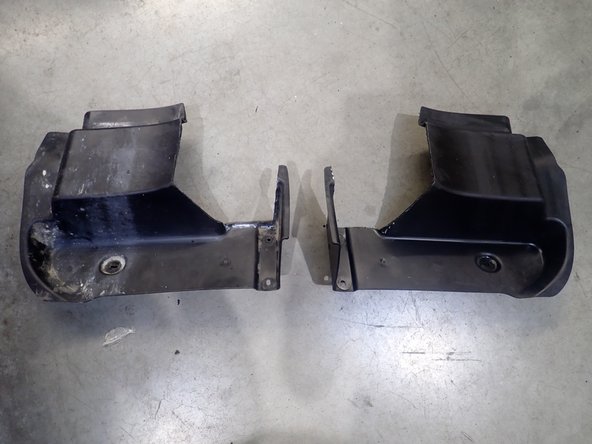
Plastic protectors must be modified to allow space for reservoirs. See the proposed cut pattern on pictures.
-
-
-
Install new Elka rear shocks with the reservoir upside and facing the rear of vehicle. (Right side shown).
-
Install supplied washer ON UPPER BOLT as shown by red arrow. Install upper bolt first, then push the shock lower shaft to compress shock and install lower bolt in place.
-
Torque bolts at 80 Ft/Lb.
-
Re-install modified plastic protectors, sway-bar links and brake line bolt.
-