-
-
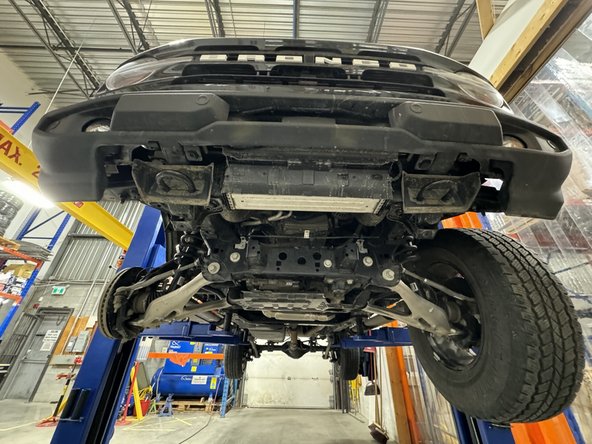
Lift the vehicle off the ground, then remove the wheels.
-
Remove the bolt that holds the brake line on each side to ensure that it will not be damaged and stretched during installation.
-
Remove the sway-bar link on both sides to allow the lower arms to temporarily move separately. (no Picture)
-
-
-
Support the knuckle with a strap to make sure there no excessive tension on the CV Axel during the process.
-
Separate the upper control arms from the steering knuckle.
-
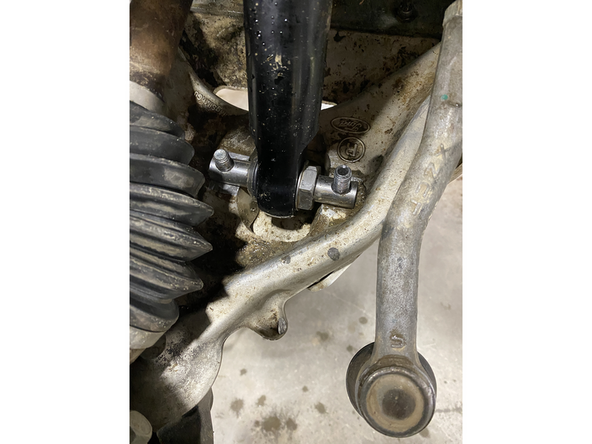
Separate the tie rod end from the steering knuckle.
-
-
-
Remove the lower shock bolts
-
Remove the 3 upper shock nuts, except for the central nut.
-
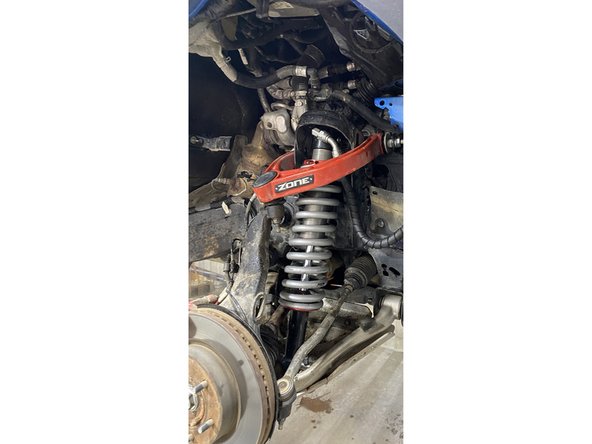
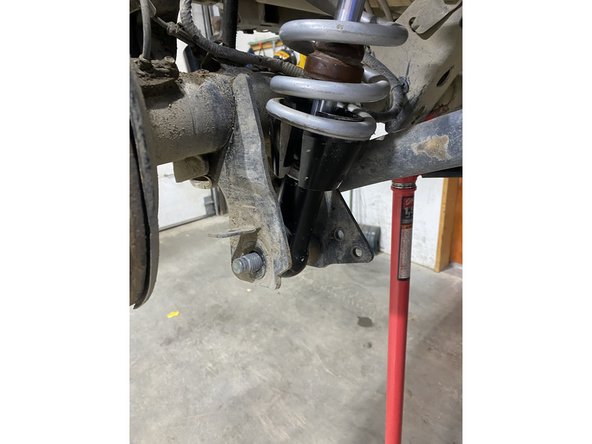
Remove the stock shocks.
-
-
-
ELKA SHOCKS WITH RESERVOIR:
-
Remove the skid plate.
-
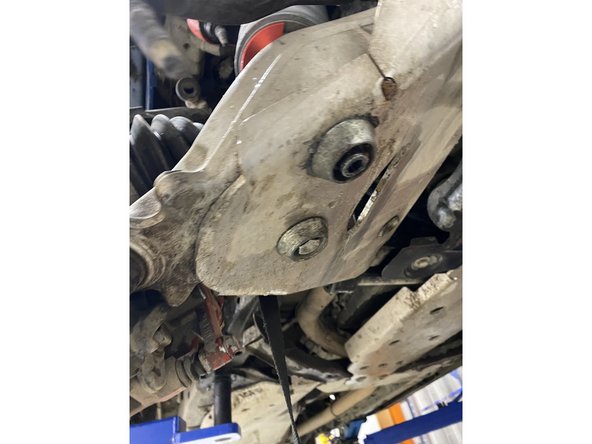
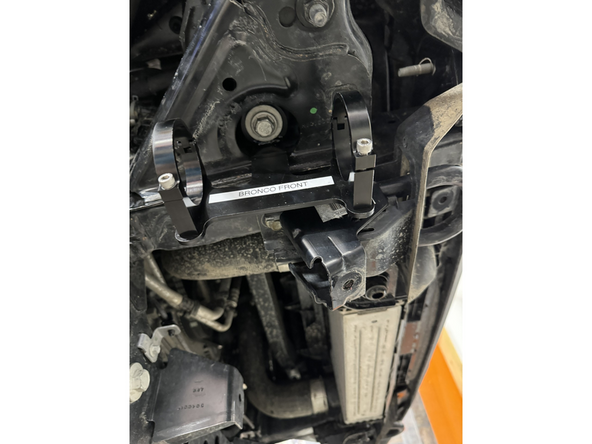
Remove the bolt of the body mount bushing.
-
place the bracket as showed in the picture.
-
Instal the bolt of the body mount bushing
-
-
-
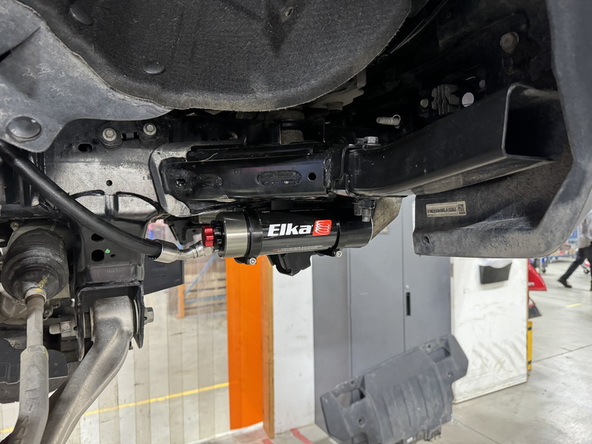
Install the Elka shocks using provided lower bolts and the provided upper bolts. Hoses must face the front of vehicle as shown (right side shown).
-
Make sure that the flat of the lower pin is against lower arm, as shown.
-
Apply thread locker, then torque the 3 upper bolts to 35 Ft-Lb, and the lower bolts to 60 Ft-Lb.
-
-
-
Sit the reservoir into the bracket clamps, then place the reservoir in such a way as to place the hose properly. BE CAREFUL TO NOT OVERBEND THE HOSE OR CREATE RUBBING ON FRAME.
-
When the reservoir is placed properly, apply thread locker on the clamp bolts and torque them at 10 Ft-Lb.
-
-
-
Reassemble the knuckle with the upper control arm. Torque the upper control arm nut to 70 Ft-Lb.
-
Reassemble the tie rod end, then torque the nut to 70 Ft-Lb.
-
Reassemble the sway bar link, then torque the nut to 70 Ft-Lb.
-
Reinstall the brake line bolts.
-
ALIGNMENT IS CRITICAL: A professional alignment must be performed before driving this vehicle at highway speeds. Do not attempt to drive your vehicle after this install without having the alignment readjusted to factory specs.
-
-
-
Lift the vehicle off the ground, then remove the rear wheels
-
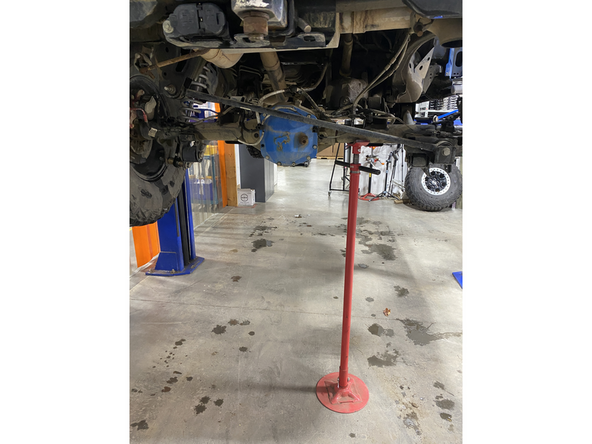
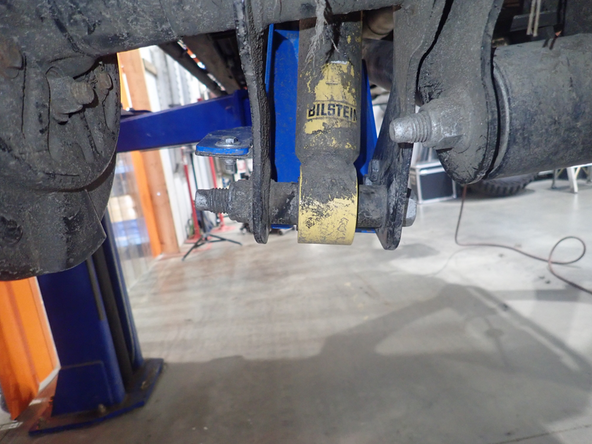
support the rear differential before removing the OEM shock.
-
Remove the lower bots of the OEm shock.
-
-
-
Remove the 3 bolts of the top plate. ( the inner fender is remove in the picture. the bolts can be accest whitout removing the inner fender.)
-
-
-
ELKA SHOCKS WITH RESERVOIR:
-
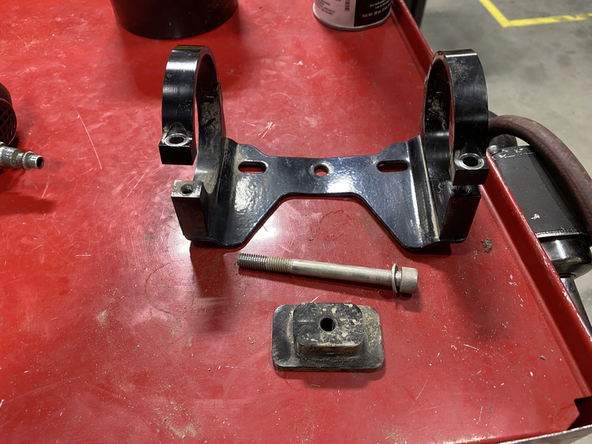
PASSENGER SIDE: Slide the small washer on the long 8mm bolt. Insert the bolt in the CENTER HOLE of the bracket assembly.
-
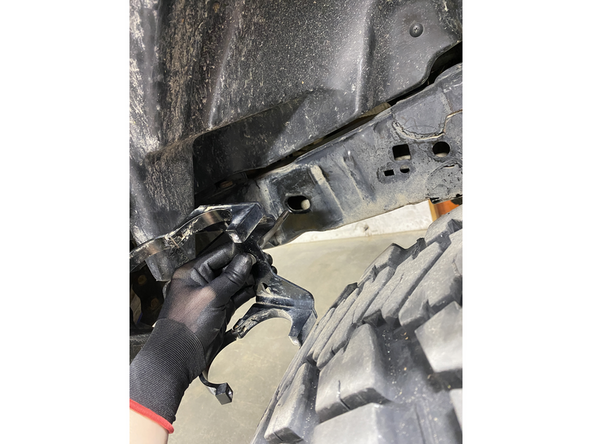
Slide bolt into the frame hole as shown and fix the bracket with the small bracket that came with the kit on the other side of the frame hole.
-
-
-
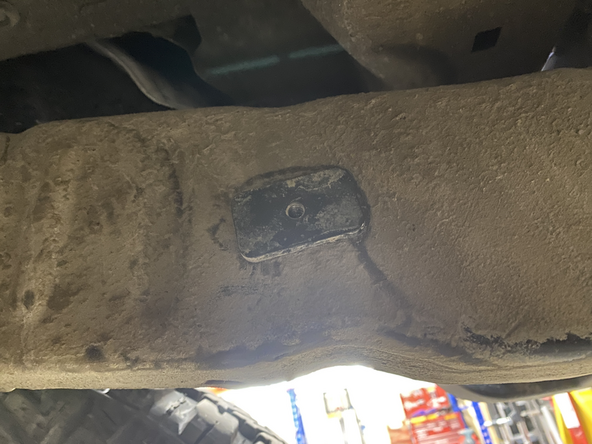
Place the bracket as vertical as possible.
-
Torque nut to 20 Ft-Lb.
-
-
-
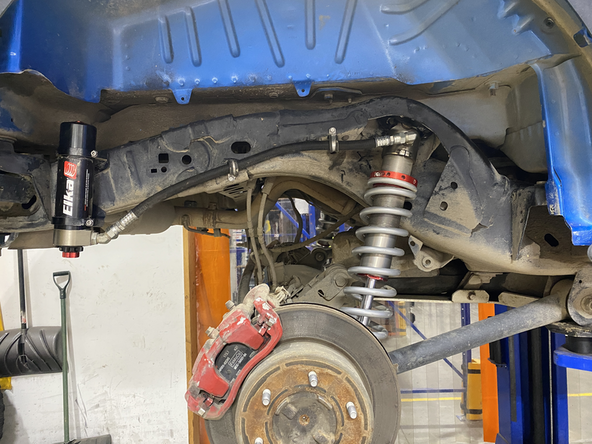
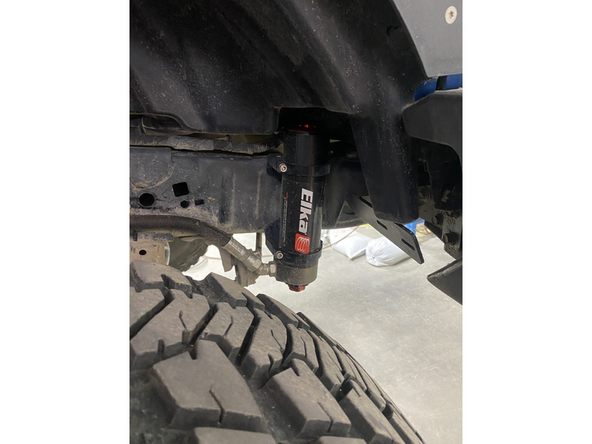
Both rear shocks are not the same. th hose must face the back of the vehicule like show in the picture. Right side show.
-
install the lower bolt of the shock .
-
Install the bolt for the top plate and apply thread locker, then torque the 3 upper bolts to 35 Ft-Lb, and the lower bolts to 60 Ft-Lb.
-
-
-
Do the same with the left side rear shock and braket.
-
Installation complete.
-