-
-
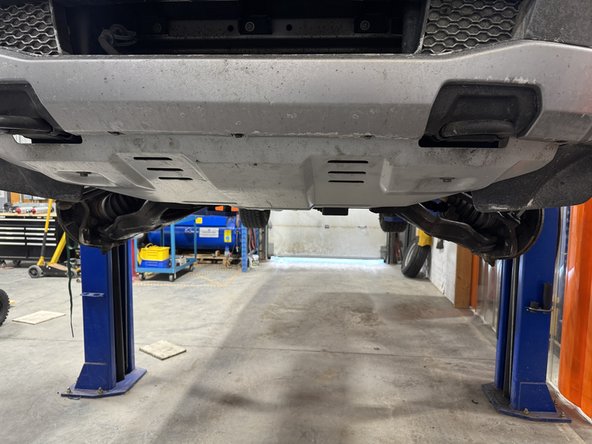
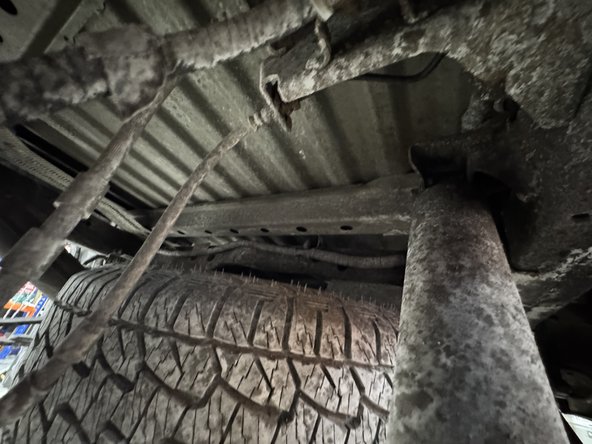
Lift the vehicle off the ground, then remove the wheels.
-
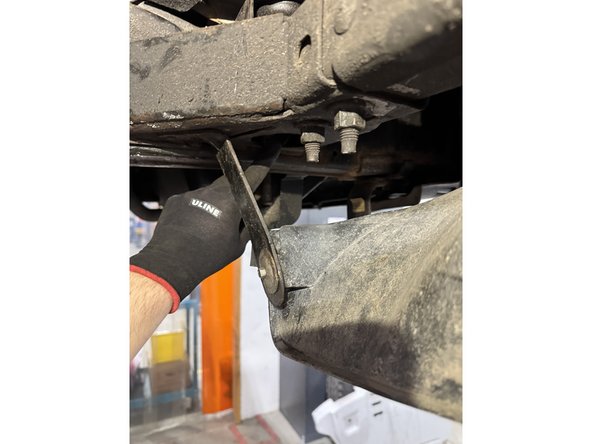
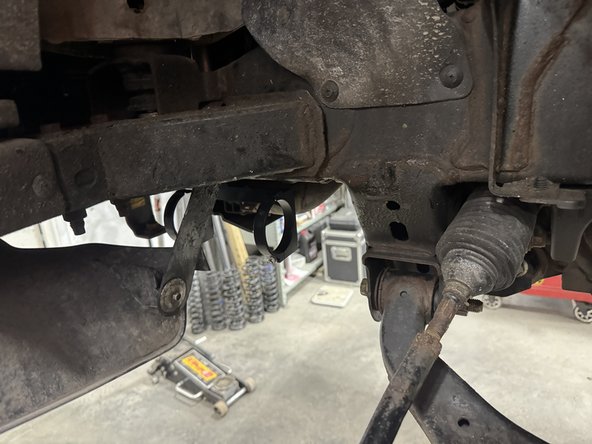
Remove the bolt that holds the bracket that holds the brake line.
-
-
-
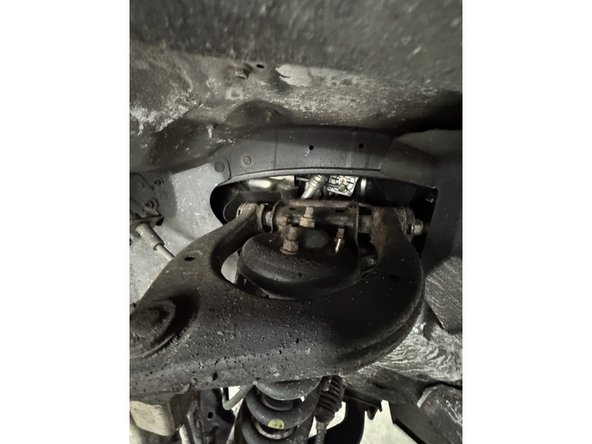
Remove the nut from the tie rod end.
-
Remove the sway bar link.
-
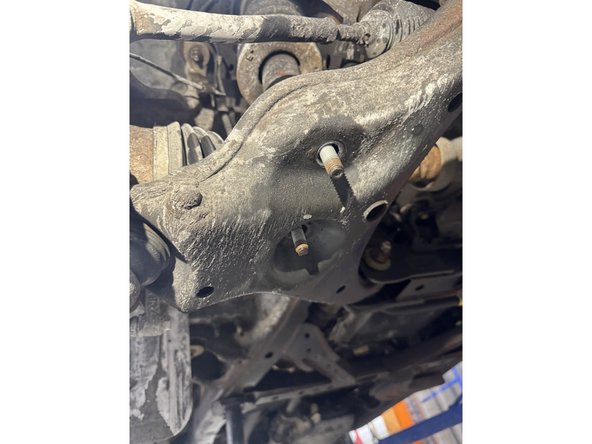
Remove upper arm ball joint nut and seperate it from steering knuckle.
-
-
-
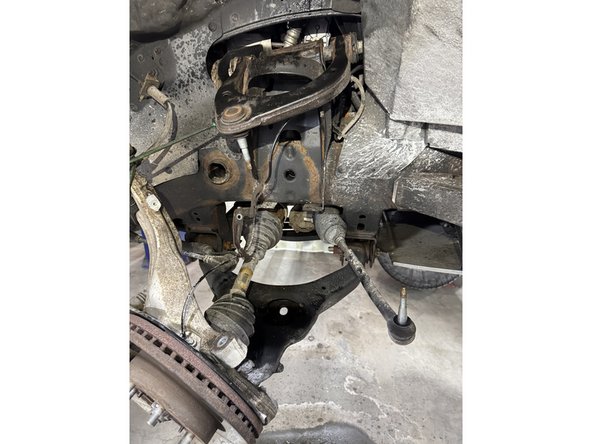
Remove the 2 nuts from the lower shock mount.
-
Remove the 3 nuts of the upper shock.
-
Remove the shock from the vehicle.
-
-
-
Remove the skid plate.
-
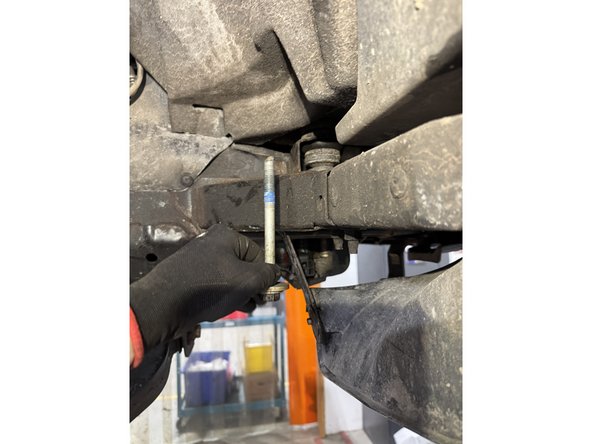
Remove the bolt that hold the front cab support, on both sides.
-
-
-
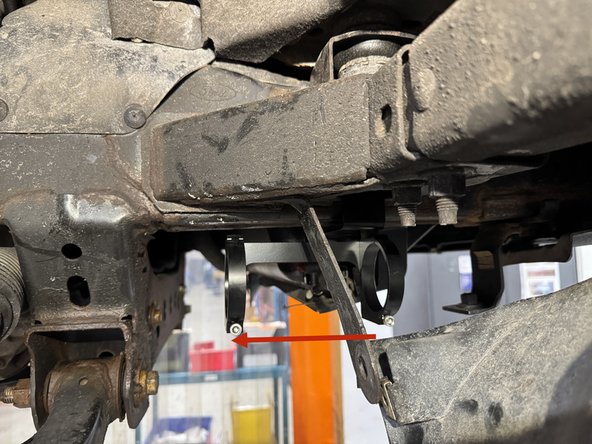
Install the bracket as shown.
-
The longer part of the bracket need to face the rear of the truck as show by the red arrow.
-
Torque the bolt to 70 Ft-Lb using blue thread lock.
-
Hold the bracket aligned with the frame while tightening the bolt.
-
-
-
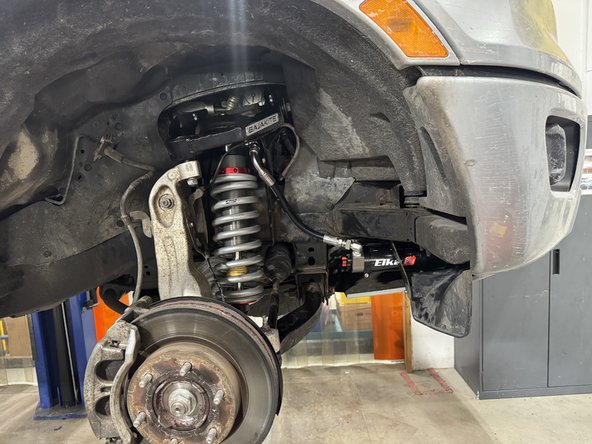
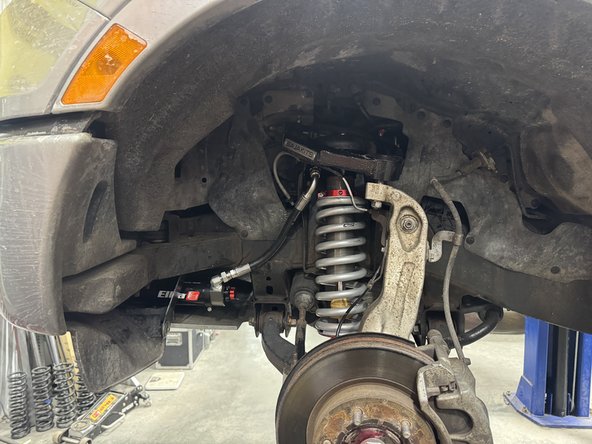
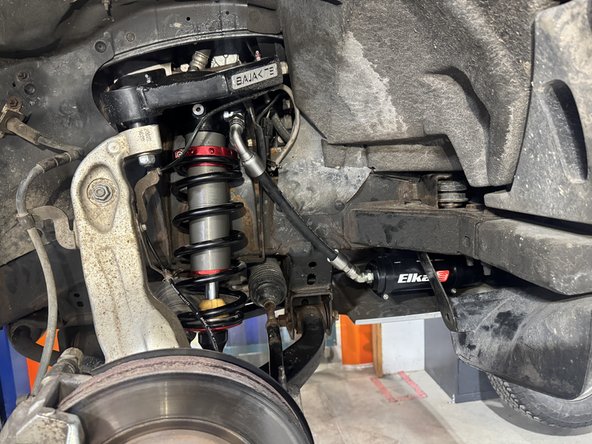
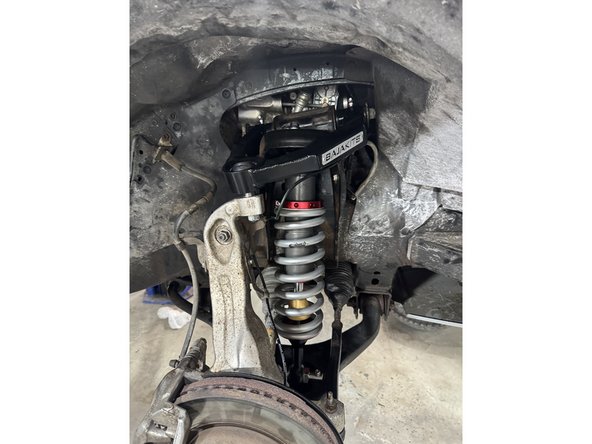
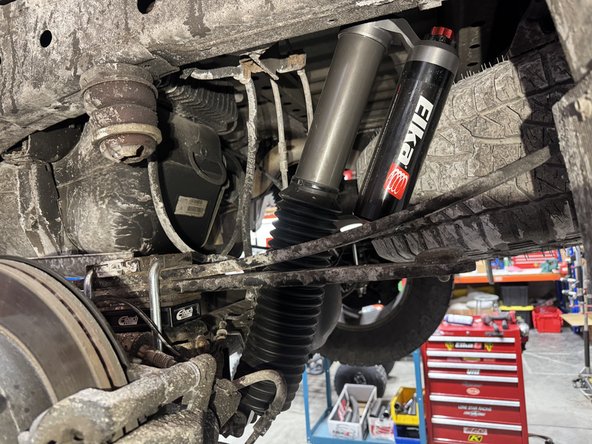
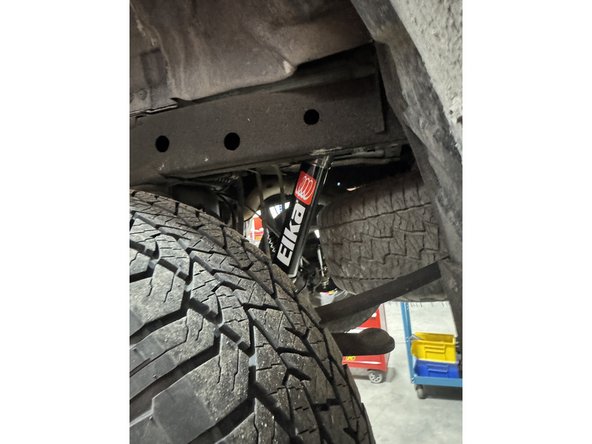
Install the Elka shocks using provided lower and upper bolts. Hoses must face the front of the vehicle as shown.
-
Install the 3 uppers bolts and torque to 35 Ft-Lb.
-
Reinstall the lower pin bolts and torque to 50 Ft-Lb.
-
Reassemble the upper arm ball joint nut, then torque the nut to 46 Ft-Lb
-
Reassemble the tie rod end, then torque the nut to 32 Lb-Ft
-
Reinstall the sway bar link, then torque the nut to 32 Lb-Ft
-
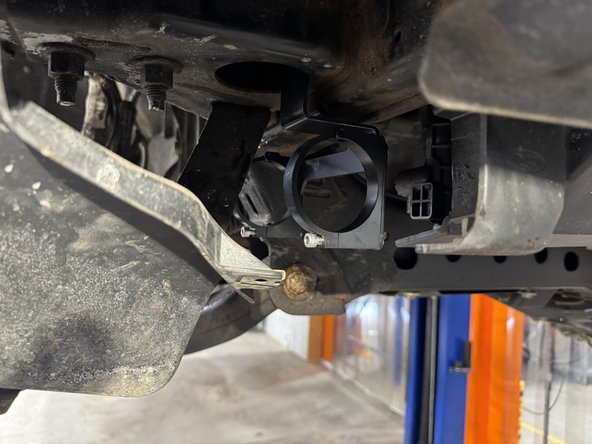
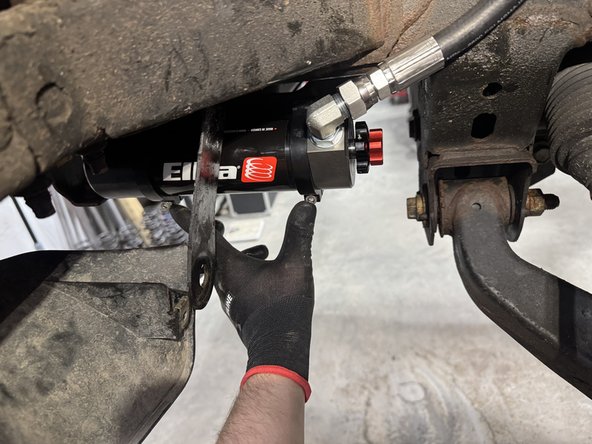
Install the reservoir in the the bracket. When the reservoir is placed properly, torque bracket's bolts at 10 Ft-Lb.
-
Reinstall the skid plate.
-
-
-
IMPORTANT : Make sure the hose does not touch anything. If needed, rotate the reservoir in the bracket to clear the hose.
-
ALIGNMENT IS CRITICAL: A professional alignment must be performed before driving this vehicle at highway speeds. Do not attempt to drive your vehicle after this install without having the alignment readjusted to factory specs.
-
-
-
Remove upper and lower bolts from OEM shocks. Keep OEM bolts to install Elka shocks.
-
-
-
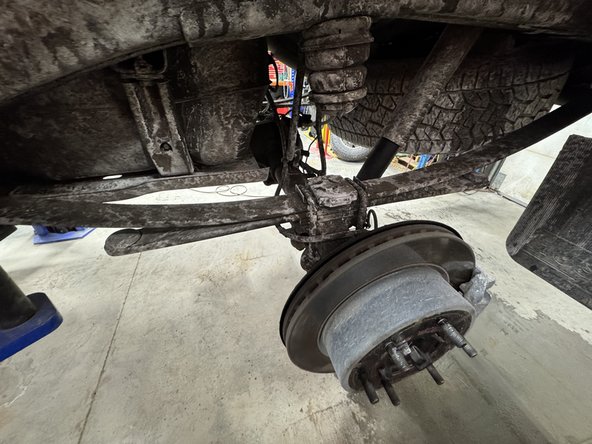
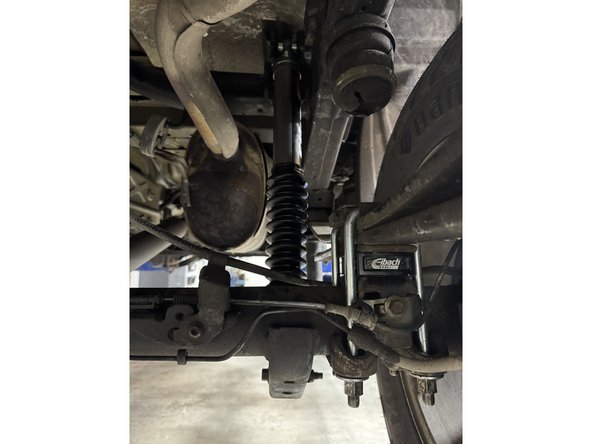
Install rear shocks with the reservoir facing the rear of the truck on both side
-
-
-
Insert wisdom here
-