-
-
Lift the vehicle using a jack or stand so that the wheels are off the ground, then remove front wheels.
-
After removing plastic caps that hold the wires, unscrew the 2 upper nuts from shocks upper mounts.
-
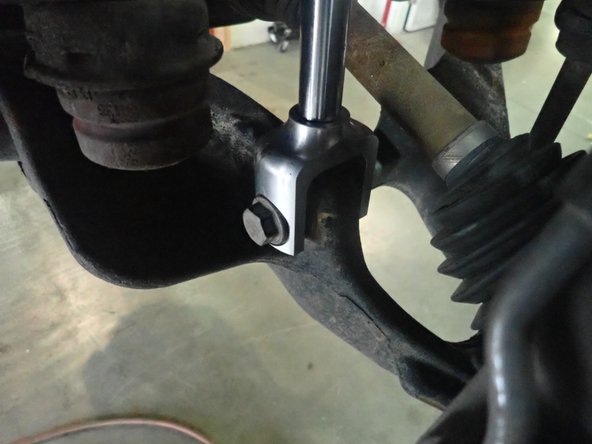
Remove shocks lower bolts.
-
-
-
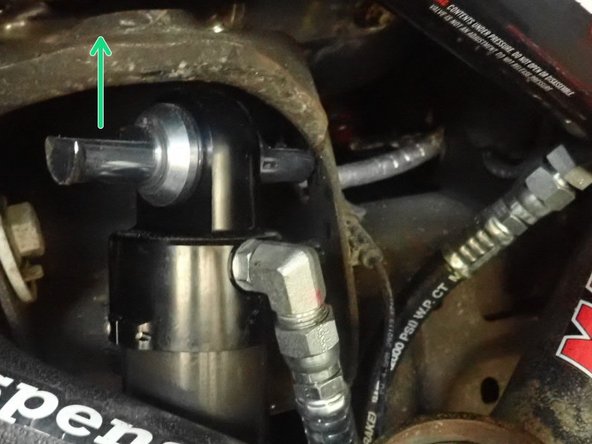
Pass reservoir from below the upper arm taking care having the wire, indicated by red arrow on the picture, below the reservoir hose.
-
Pass shock from below the upper arm also. Hose fitting on head of shock must slightly face the front of vehicle (Right side shown).
-
-
-
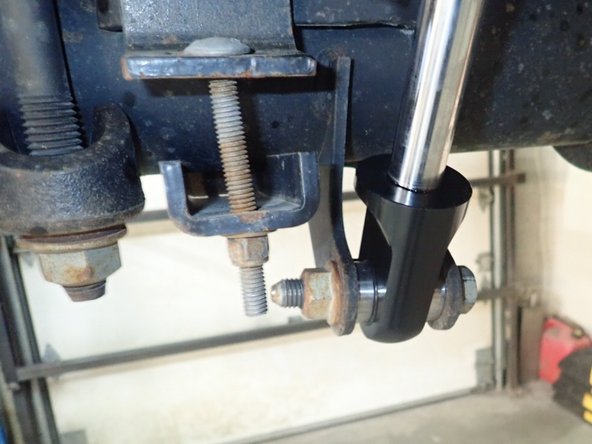
Begin to install OEM lower bolt into new Elka shock fork . Do not tighten for now.
-
For the upper mount, make sure the stud's flats are facing up as shown by green arrow. The pin can be turned if nesessary.
-
NOTE: Because on an internal top out spring device into Elka shocks, they may seems shorter than they should be.
-
-
-
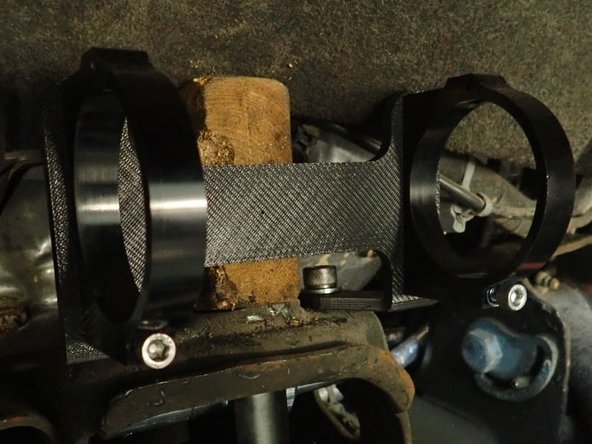
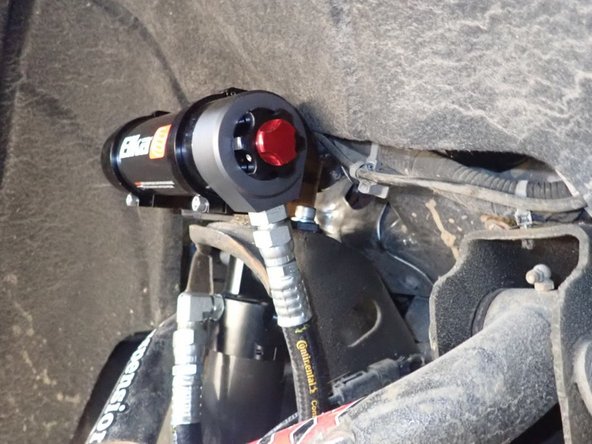
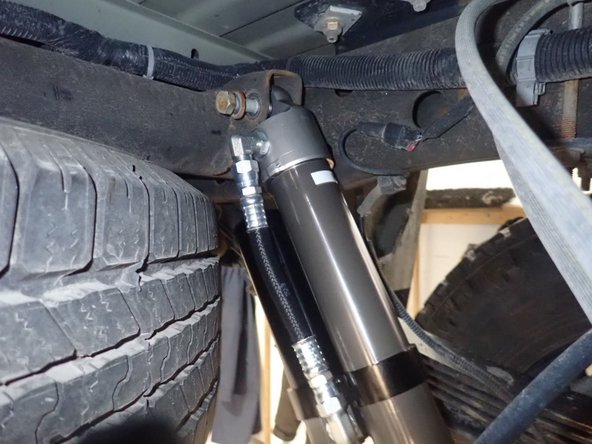
Align reservoir bracket with the 2 upper mount holes. You will have to push and hold or cut fender guard to allow space for bracket.
-
Install provided washers on provided bolts, then pass bolts thru bracket and frame's holes.
-
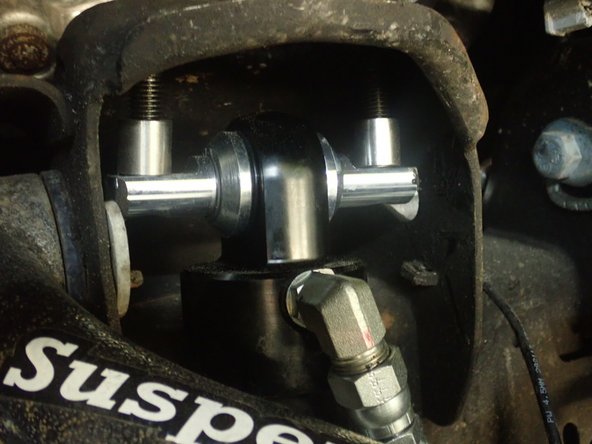
Install provided spacer/sleeve between shock's flat stud and frame then pass bolt thru.
-
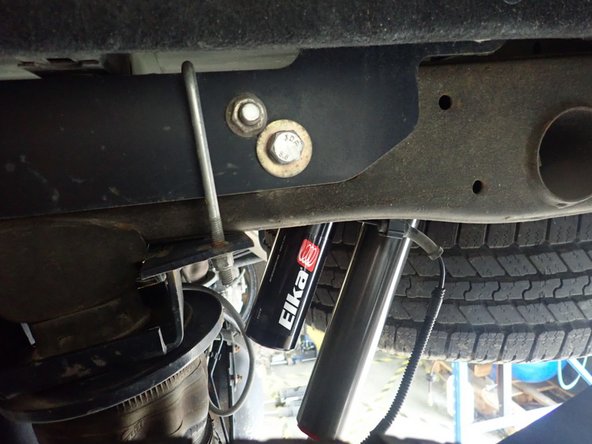
Torque upper bolts at 65 ft.lb. and lower bolt at 100 ft.lb.
-
-
-
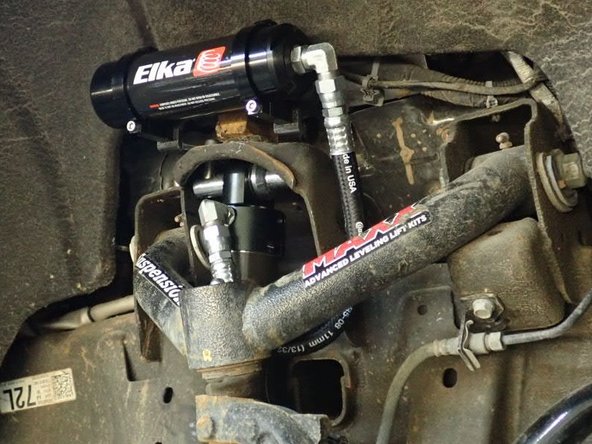
Sit reservoir into bracket's clamps, then place the reservoir in a way to place hose properly. BE CAREFUL TO NOT OVERBEND THE HOSE OR MAKE IT RUBBING ON UPPER SHOCK MOUNT IN THE AREA SHOWED BY RED CIRCLE.
-
When reservoir is placed properly, apply threads locker on clamp's bolts and torque them at 10 ft.lb.
-
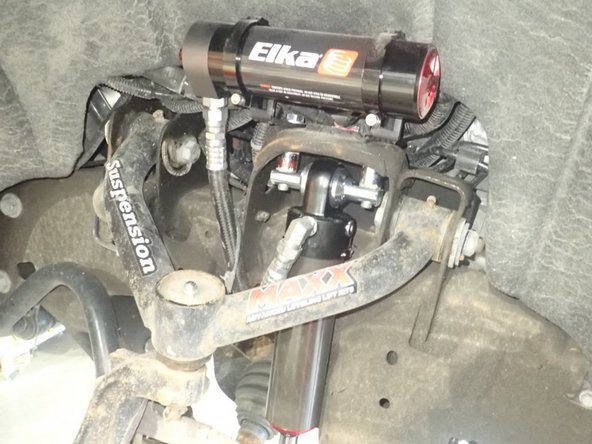
Right side shown
-
ALIGNMENT IS CRITICAL: A professional alignment must be performed before driving this vehicle at highway speeds. Do not attempt to drive your vehicle after this install without having the alignment readjusted to factory specs.
-
-
-
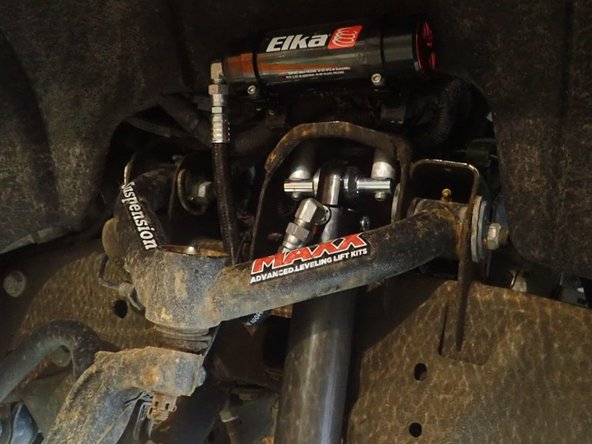
Left side shown
-
ALIGNMENT IS CRITICAL: A professional alignment must be performed before driving this vehicle at highway speeds. Do not attempt to drive your vehicle after this install without having the alignment readjusted to factory specs.
-
-
-
Remove upper and lower bolts from OEM shocks. Keep OEM bolts to install Elka shocks.
-
ADUJSTABLE SHOCKS MODEL:
-
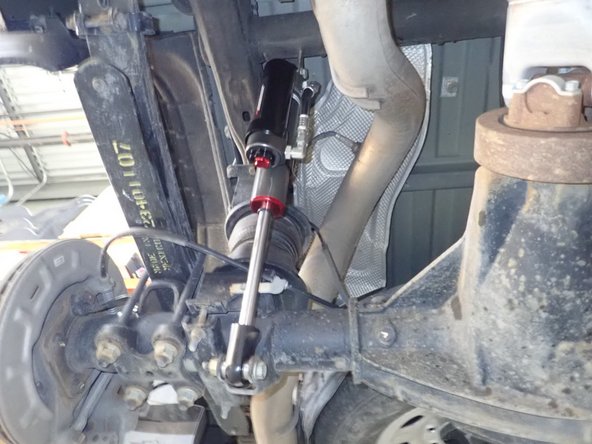
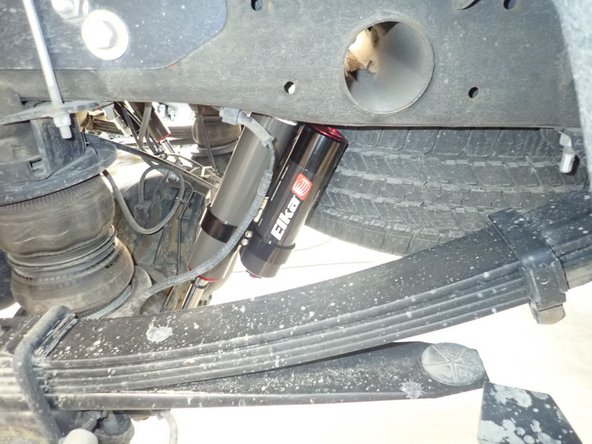
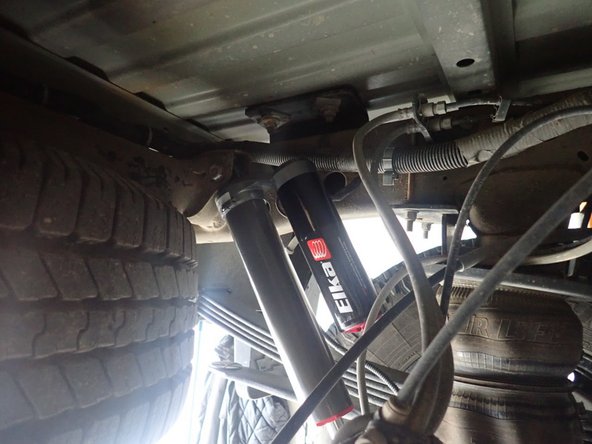
RIGHT SIDE: Install rear right shock with head to the top and reservoir facing front of vehicle as shown.
-
Install upper OEM bolt, Push on shock rod end to compress shock and install lower bolt. Tighten all bolts at 100 ft.lb.
-
-
-
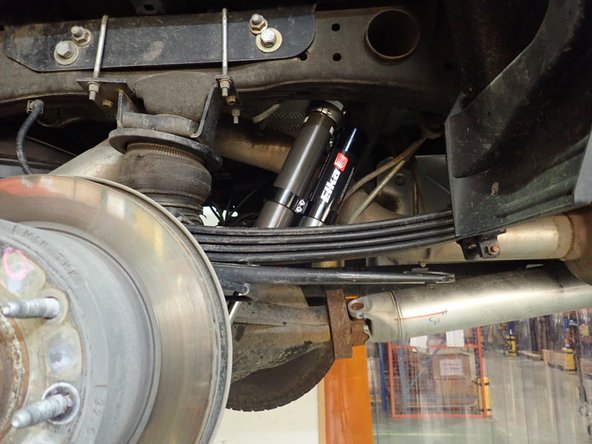
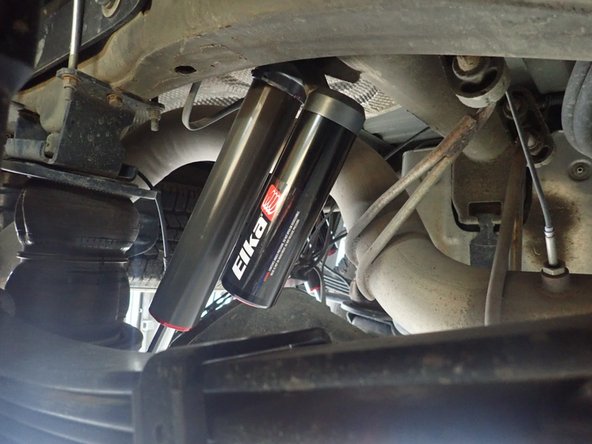
LEFT SIDE: Install rear left shock with head to the top and the reservoir facing the rear of vehicle as shown.
-
Install upper OEM bolt, Push on shock rod end to compress shock and install lower bolt. Tighten all bolts at 100 ft.lb.
-
-
-
NON-ADUJSTABLE SHOCKS MODEL:
-
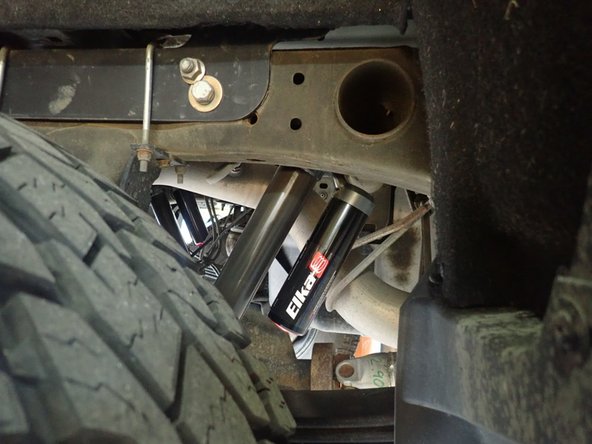
RIGHT SIDE: Install rear right shock with head to the top and reservoir facing front of vehicle as shown.
-
Install upper OEM bolt, Push on shock rod end to compress shock and install lower bolt. Tighten all bolts at 100 ft.lb.
-
-
-
LEFT SIDE: Install rear left shock with head to the top and reservoir facing front of vehicle as shown.
-
Install upper OEM bolt, Push on shock rod end to compress shock and install lower bolt. Tighten all bolts at 100 ft.lb.
-