-
-
On Stage 1 and Stage 2, install shock with the head upside as shown, and the rebound adjuster facing outside the atv. The lower eyelet can be turned to align the rebond adjuster properlly.
-
On Stage 3-4-5, install shock with reservoir upside and facing the front of the atv as shown, and the rebound adjuster facing outside the atv. The lower eyelet can be turned to align the rebond adjuster properlly.
-
Trim the front panel as shown by the yellow arrow to avoid damages on front piggyback head.
-
-
-
On Stage 1 and Stage 2, install shock with the head upside and the rebound adjuster facing rear of the atv. The lower eyelet can be turned to align the adjuster properlly.
-
On Stage 3-4-5, install shock with the reservoir upside and facing the front of the atv. The rebound adjuster must face the rear of the atv. The lower eyelet can be turned to align the adjuster properlly.
-
-
-
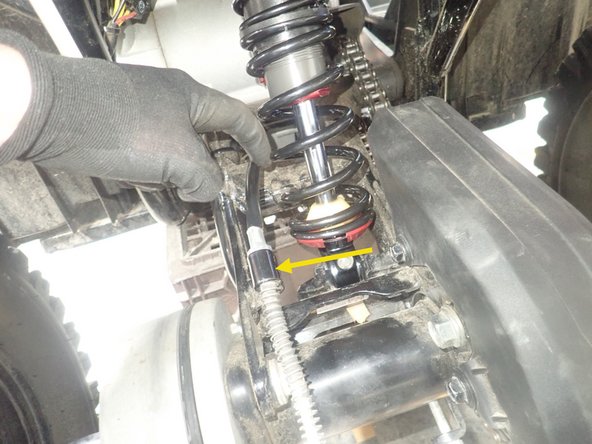
To avoid contact with the spring, bend slightly the brake cable bracket to the left side of atv.
-
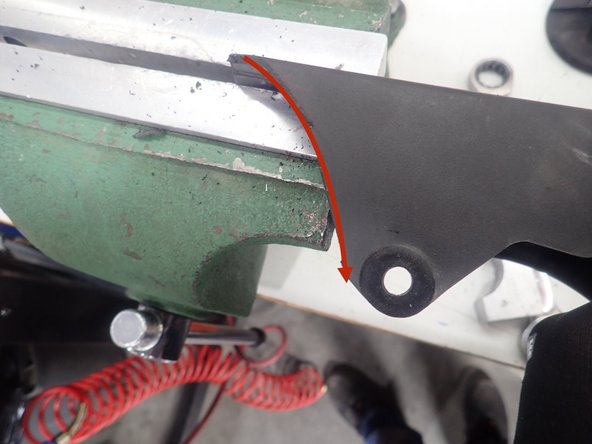
To avoid contact with the spring, trim chain guard as shown.
-