-
-
Lift the vehicle using a jack or stand so that the wheels are off the ground. Refer to your vehicle's owner manual for specific instructions on how to remove the stock shocks. Keep your original bolts to re-use when installing your new Elka shocks.
-
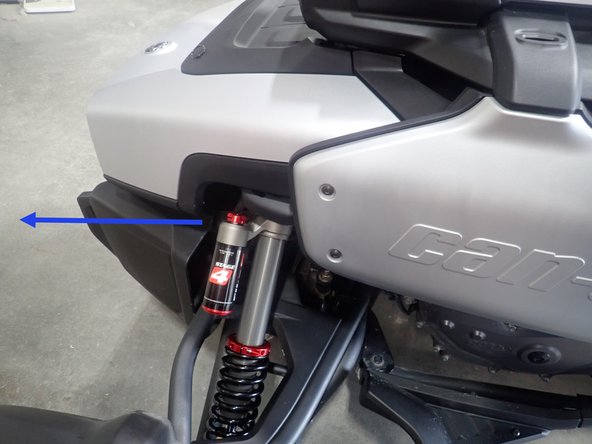
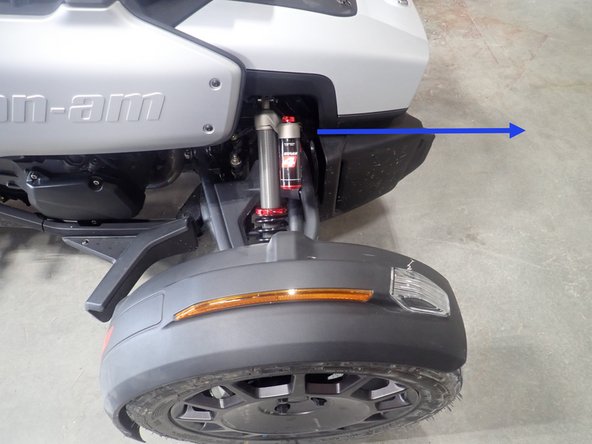
Install the front new Elka shocks with the reservoir ( on Stage 3-4-5 ) upwards and pointing the front of the vehicle as shown by the blue arrow.
-
For Stage 1-2, install the front new Elka shocks with the heads upwards. They are both the same.
-
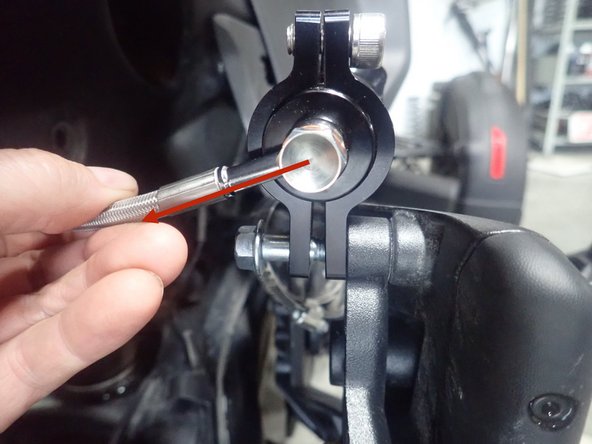
On Stage 2, Stage 4 and Stage 5 models, the shock eyelets should be installed with the rebound adjuster oriented towards the rear of the vehicle as shown ( Right side shown ). If needed, you can turn the lower eyelet to orient properly.
-
Torque all bolts at 50 Lb-Ft.
-
-
-
Lift the vehicle using a jack or stand so that the wheels are off the ground. Refer to your vehicle's owner manual for specific instructions on how to remove the stock shocks. Keep your original lower bolt to re-use when installing your new Elka shocks.
-
For Stage 1-2, install the front new Elka shocks with the heads upwards.
-
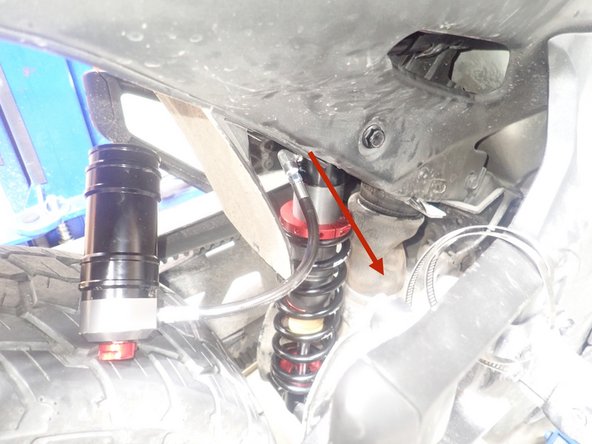
For Stage 4-5, install rear shock with the reservoir's line facing the rear-right of vehicle as shown by red arrow.
-
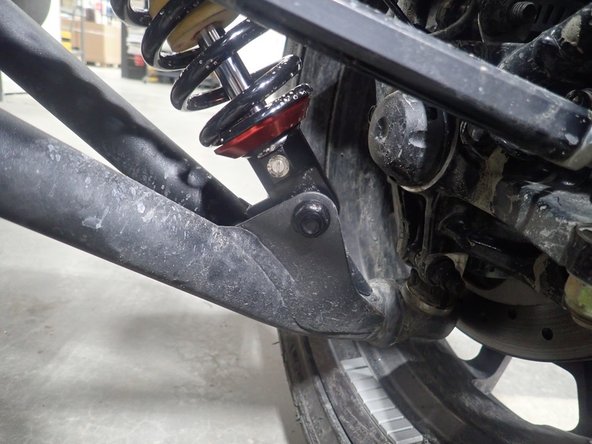
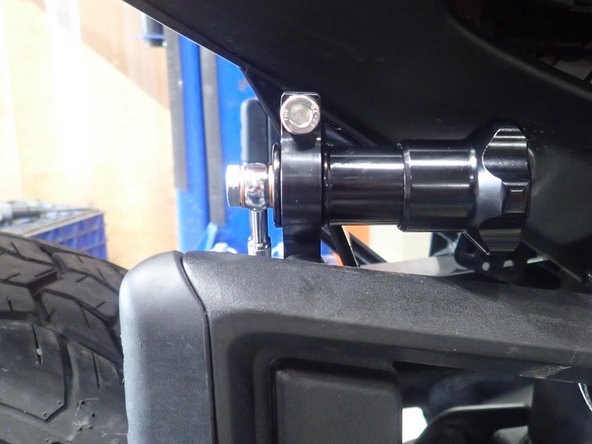
For the lower mount, use the oem long bolt to fix the shock. Torque at 50 Lb-Ft.
-
-
-
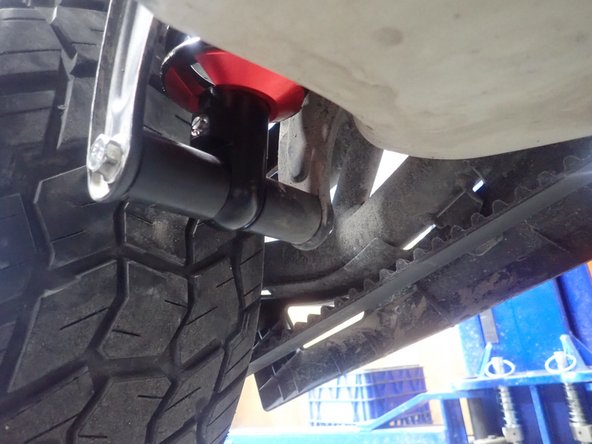
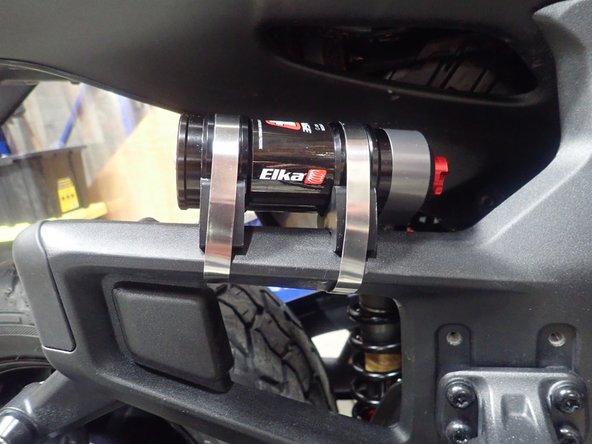
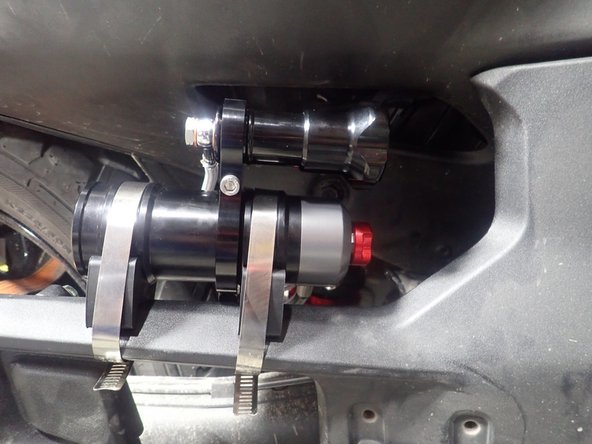
Using supplied rubber mounting kit, attach the reservoir as shown.
-
* Be careful to not overbend the hose or overtighten steel collars*
-
-
-
STAGE4-5 WITH HYDRAULIC PRELOAD:
-
Using supplied rubber mounting kit, attach the reservoir as shown.
-
* Be careful to not overbend the hose or overtighten steel collars*
-
-
-
STAGE2 WITH HYDRAULIC PRELOAD:
-
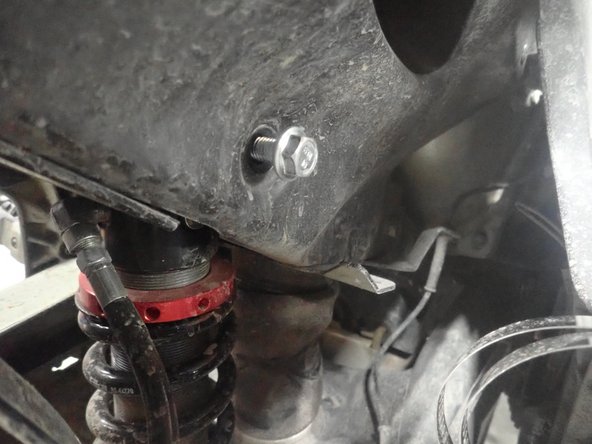
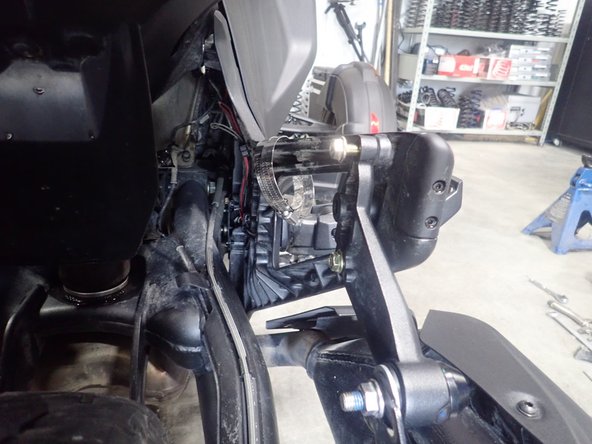
On the right side of vehicle, remove upper bolt that hold exhaust bracket.
-
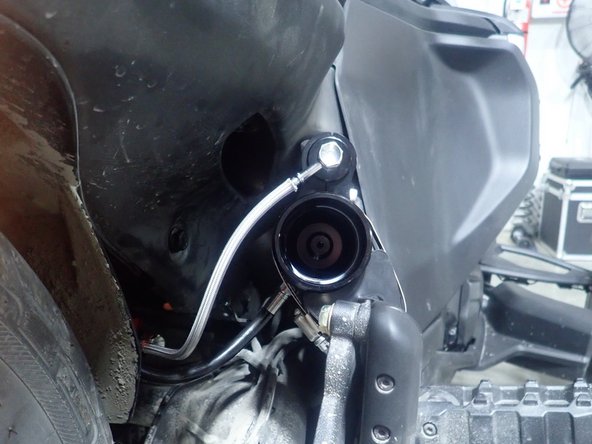
Fix the hydraulic preload reservoir using supplied longer bolt as shown. The bracket should be placed at the end of reservoir as shown.
-
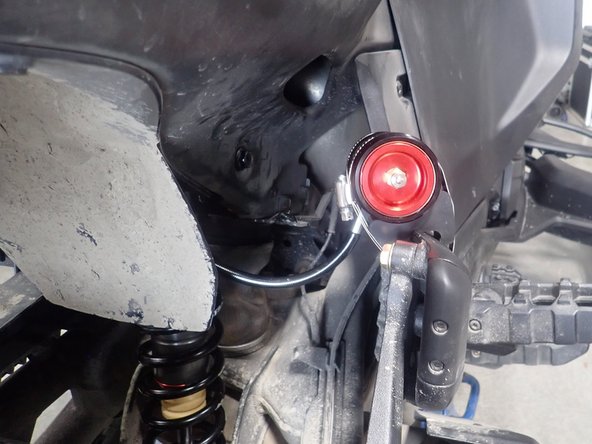
Align hydraulic preload reservoir horizontally as shown, then torque bolts evenly at 20 Lb-Ft using low strength threads locker.
-
*Be careful to not overbend the hose and place it at a good angle as shown by red arrow*
-