-
-
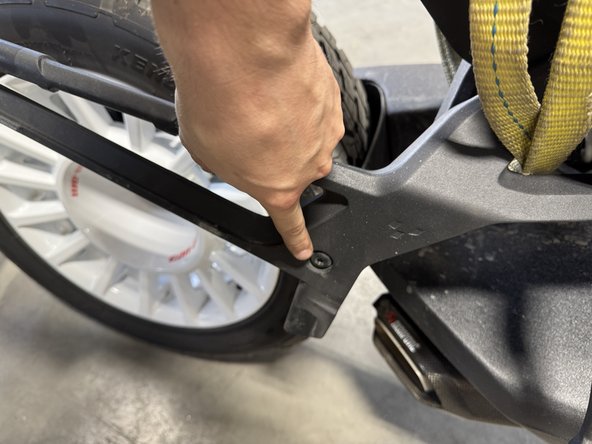
Remove the front plastic cover shown by the blue arrow.
-
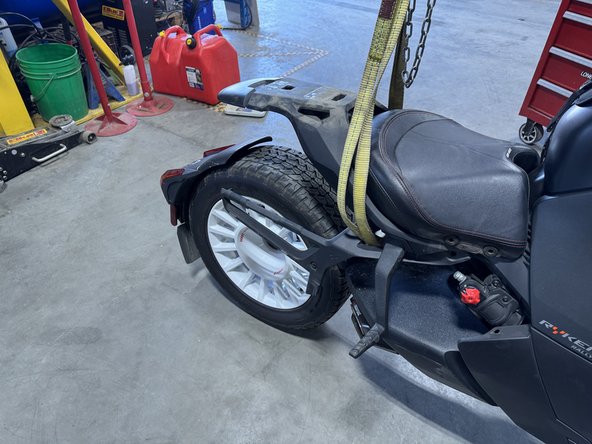
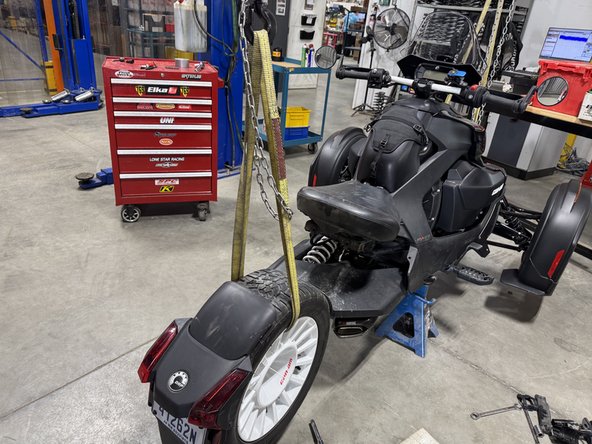
Lift the Ryker of the ground.
-
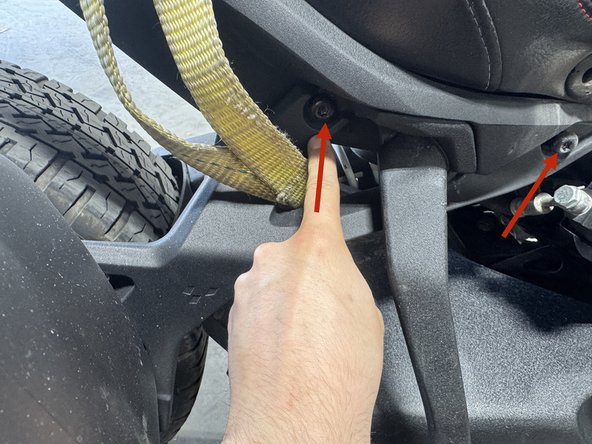
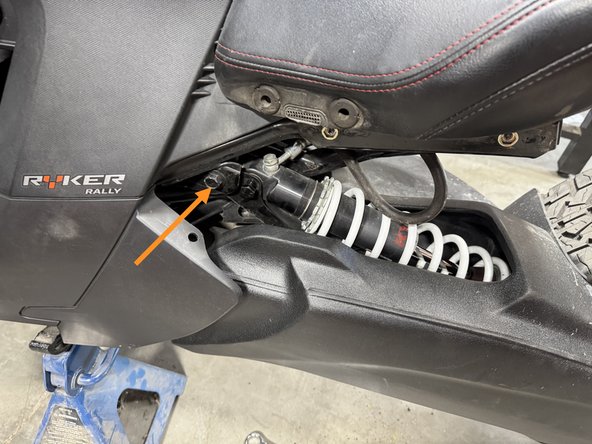
Remove the screw that hold the OEM reservoir in place shown by the red arrow.
-
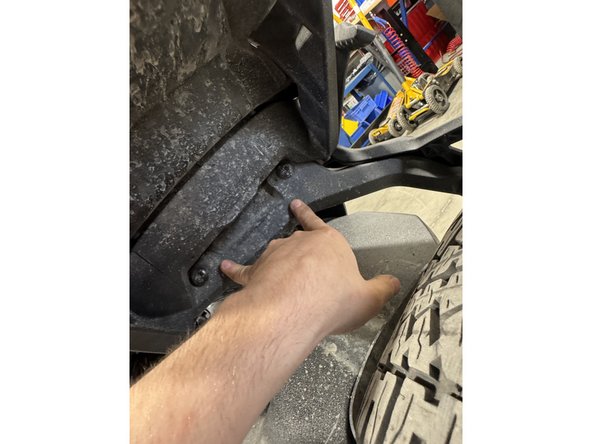
Unclip the side panel to make place for the reservoir to move out. (be careful to not break the panel.)
-
-
-
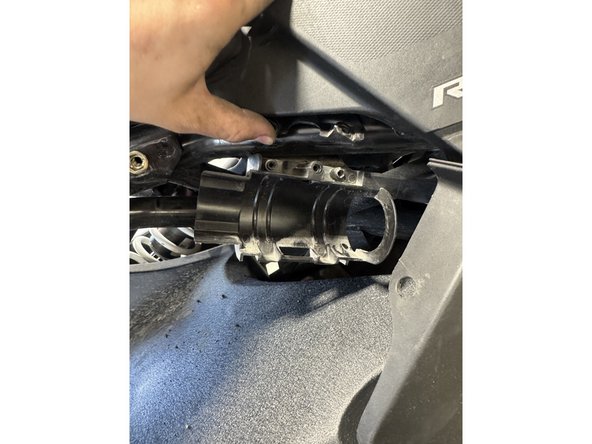
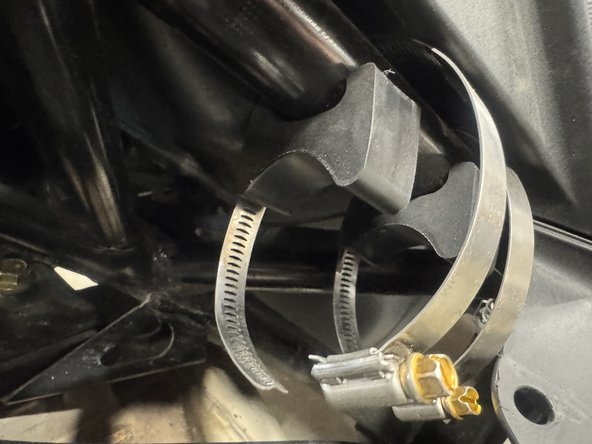
Move the reservoir out of the braket as shown.
-
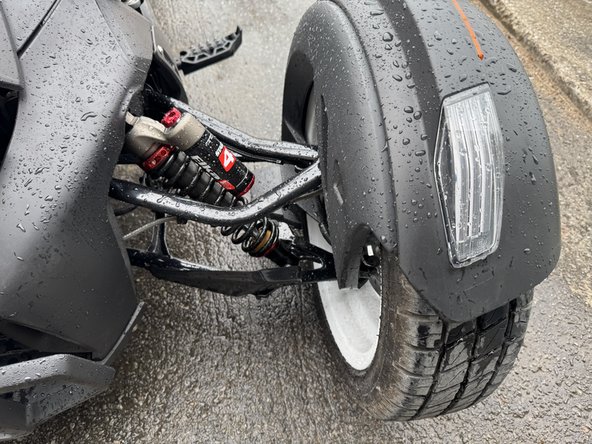
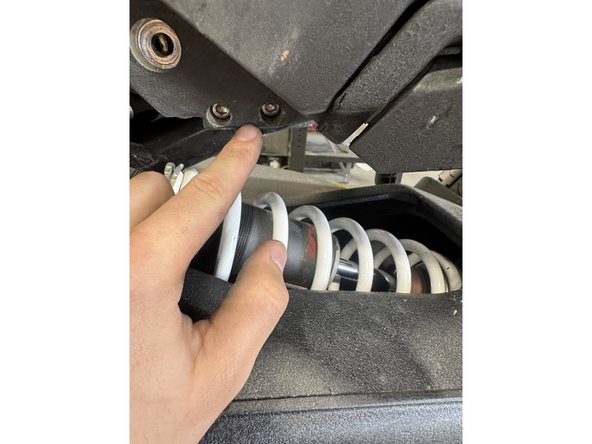
Remove the upper and lower bolts that hold the shock.
-
Keep your original bolts to re-use when installing your new Elka shocks.
-
-
-
Install the front new Elka shocks with the reservoir ( on Stage 3-4-5 ) or Schraeder nitrogen valve ( on Stage 1-2 ) at the top of vehicle
-
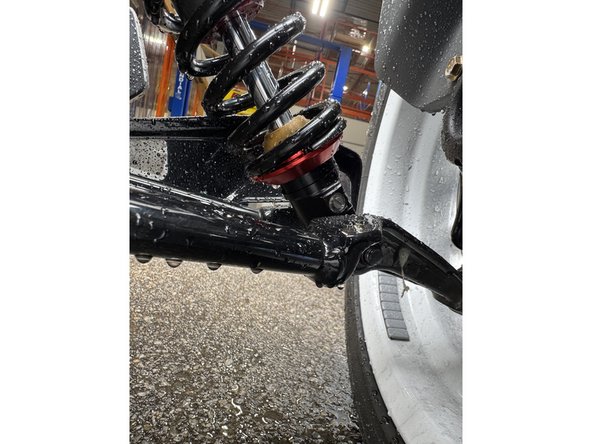
On Stage 2, Stage 4 and Stage 5 models, the lower shock eyelets should be installed with the rebound adjuster oriented towards the rear of the vehicle. If needed, you can turn the lower eyelet to orient properly.
-
-
-
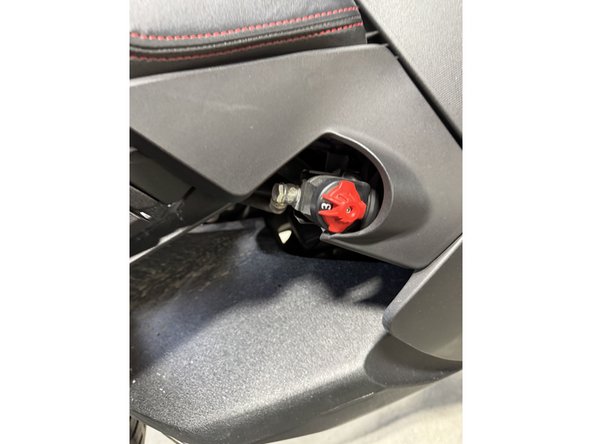
Remove the reservoir panel on the right side
-
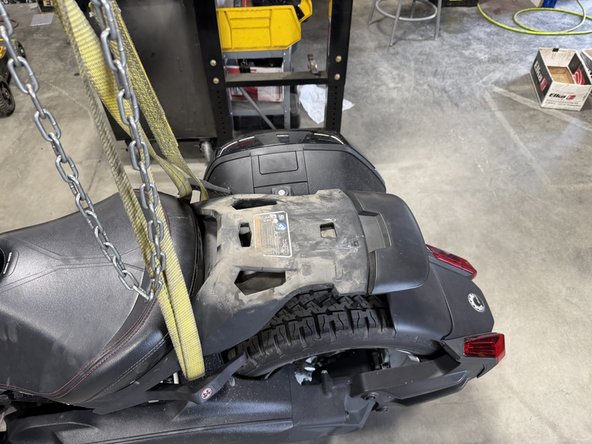
Remove the rear seat.
-
Remove the saddlebag.
-
-
-
Remove the bolts as shown.
-
Remove the side bar that was holding the saddlebag.
-
-
-
Remove the 4 bolts holding the support and remove the support.
-
-
-
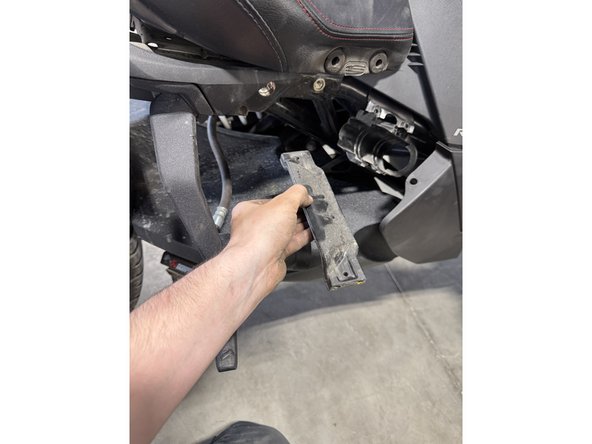
Remove the 2 last bolts holding the rear section of the Ryker as shown.
-
Remove the rear section.
-
-
-
Move the reservoir out of the bracket as shown.
-
Remove the bracket from the frame.
-
-
-
Keep your original bolts to re-use when installing your new Elka shocks.
-
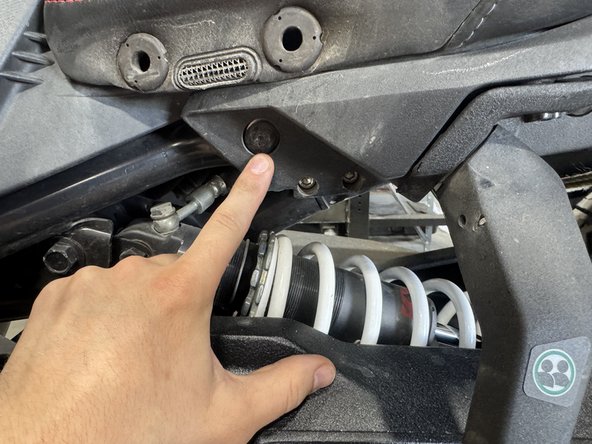
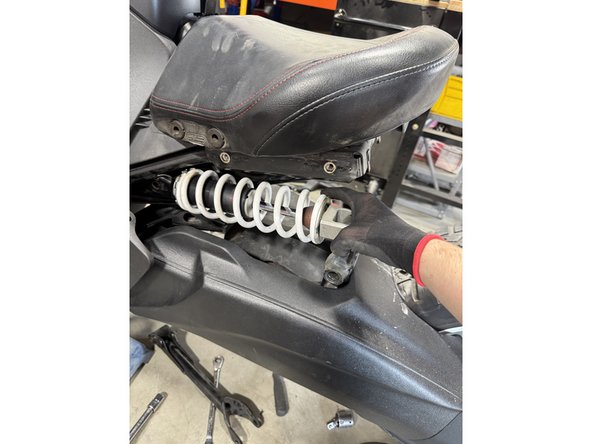
Remove the upper shock bolt.
-
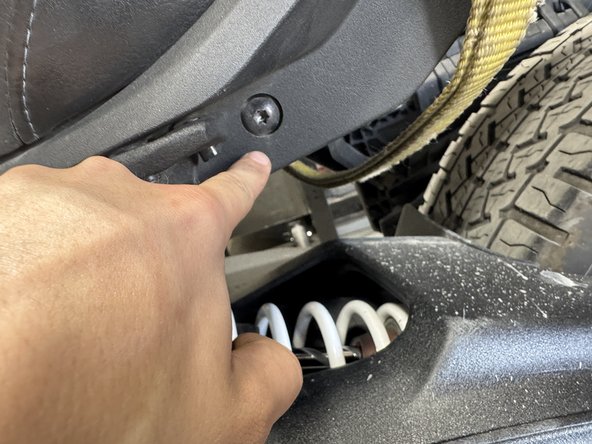
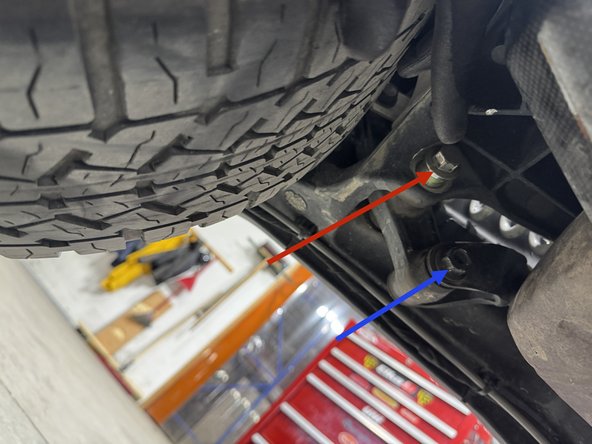
Remove the linkage bolt shown by the red arrow.
-
Remove the lower shock bolt shown by the blue arrow.
-
Remove the bolt shown by the orange arrow.
-
Remove the shock from the Ryker.
-
-
-
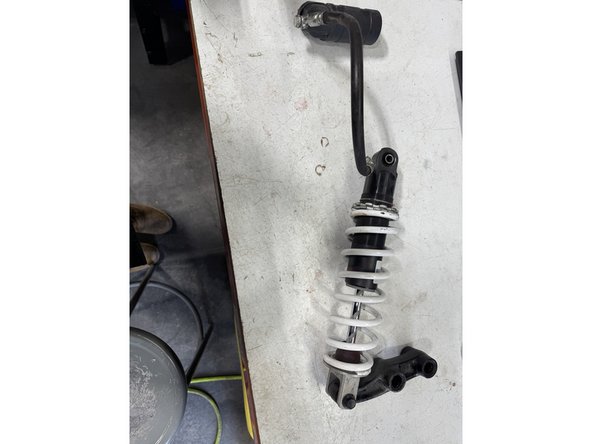
Remove the linkage from the OEM shock.
-
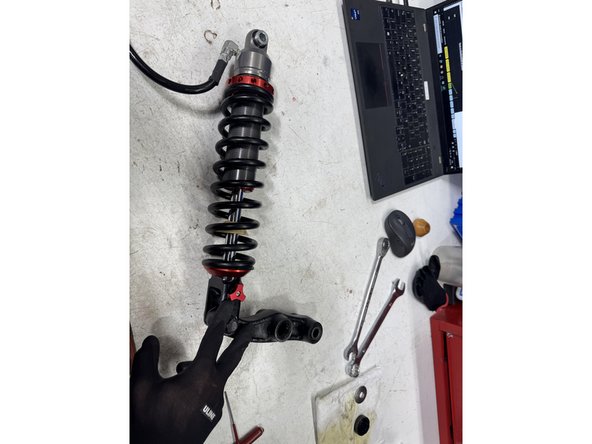
Install the linkage on the new Elka shock. Make sure it faces the same way.
-
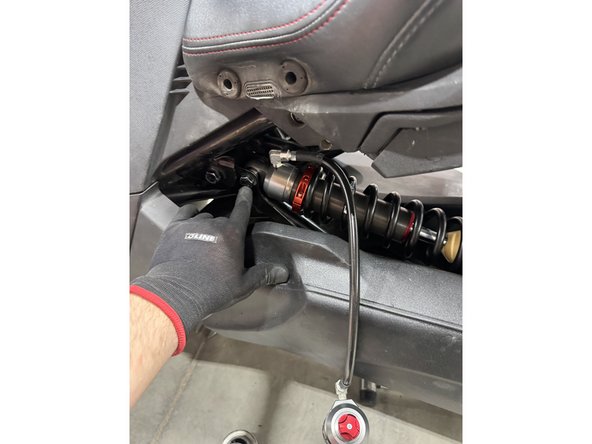
Assemble everything the way it was disassembled.
-
-
-
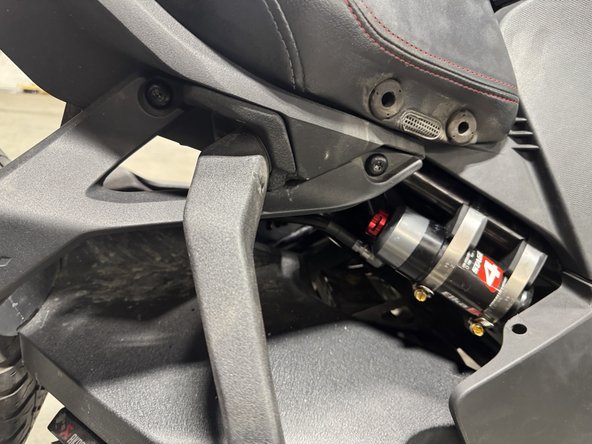
Install the reservoir as shown. Use the provided mounting hardwire.
-
Reinstall the side pannal.
-